Physical Address
304 North Cardinal St.
Dorchester Center, MA 02124
Physical Address
304 North Cardinal St.
Dorchester Center, MA 02124
Fresh apples can stay crisp and flavorful for weeks if they are stored correctly. However, improper storage often causes apples to become soft, wrinkled, or mealy much faster than expected. Understanding how to store apples properly helps preserve their texture, flavor, and moisture for a longer period.
The best apple storage method depends on temperature, humidity, and airflow. Some methods work well for short-term countertop storage, while others help apples remain fresh for more than a month in cold environments.
Different apple storage methods can produce very different results depending on temperature, humidity, and airflow conditions. Some methods help apples stay crisp for only a few days, while others can preserve freshness for several weeks. While some traditional methods left the fruit dry and bland, the top-performing techniques kept apples exceptionally sweet-tart and juicy for well over a month and a half.
If you want to stop wasting your produce and start enjoying perfectly preserved fruit, this comprehensive guide will show you exactly how to do it.
The best way to store apples is to keep them in a cool, dark place or inside a refrigerator crisper drawer with controlled humidity. Apples stay fresh longer when stored in a paper bag or individually wrapped to reduce moisture loss and limit exposure to ethylene gas. Proper apple storage helps maintain crisp texture, flavor, and freshness for several weeks
Before exploring the practical storage methods, it helps to understand why these fruits degrade in the first place. Apples are alive. Even after they are plucked from the tree branch, they continue to breathe, consume oxygen, and break down their internal sugars through a natural process called respiration.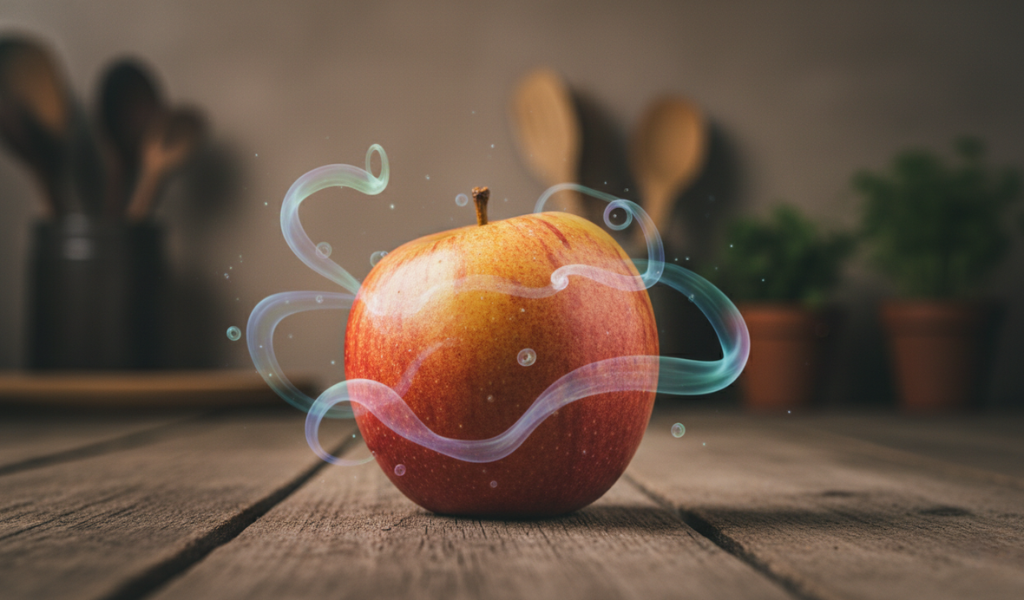
The primary culprit behind rapid apple aging is a natural, harmless plant hormone known as ethylene gas.
Apples are heavy producers of ethylene, which acts as a hormonal ripening signal. As the gas builds up around the fruit, it triggers enzymes that break down pectin—the cellular ‘glue’ that gives the fruit its firm texture. Consequently, the cell walls collapse, turning a firm bite into a mealy texture.
Furthermore, apples lose moisture continuously through their microscopic skin pores. If your kitchen air is warm and dry, this evaporation accelerates, leaving you with shriveled, wrinkled skins. To slow this process down, you must control three vital environmental factors:
No storage method can rescue an apple that is already past its prime or structurally compromised. If your goal is multi-week freshness, your preservation strategy must begin at the point of selection.
Always choose fruits that still have their stems firmly attached. When an apple loses its stem, the skin around that recess often tears, leaving a small, open gateway for mold spores and bacteria to enter the inner flesh.
Examine the skin carefully. You want pristine, smooth surfaces with zero signs of bruising, dark indentations, or broken skin. A minor drop at the market can cause deep internal bruising that rots out from the inside.
Give the fruit a gentle squeeze. It should feel completely rock-solid. If the flesh yields to mild thumb pressure or feels slightly spongy, its cellular walls are already degrading, meaning it won’t last long in storage.
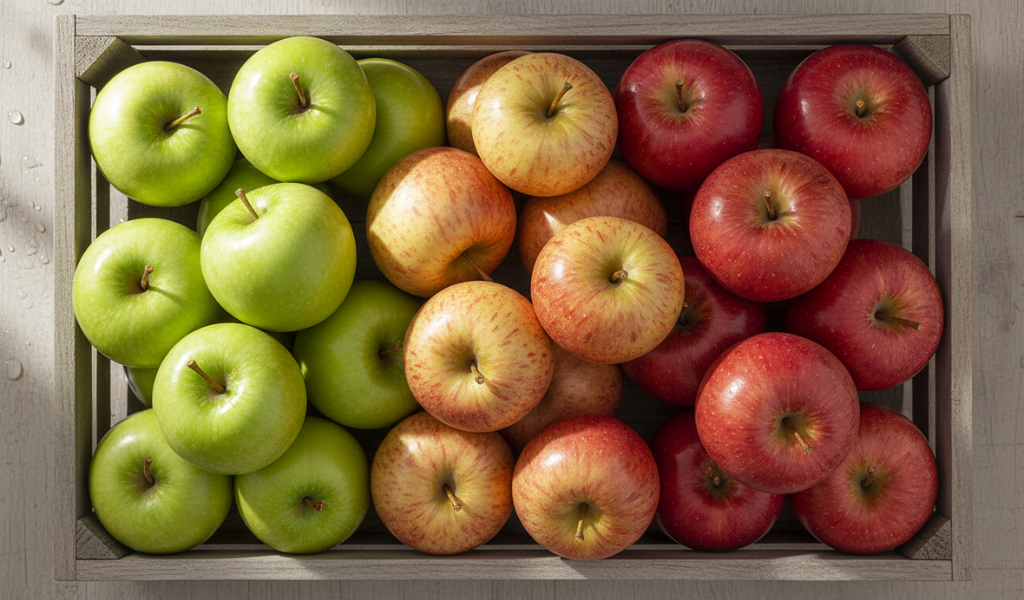
Not all apples are built for long-term storage. Thick-skinned, tart varieties inherently last much longer than thin-skinned, sweet ones.
| High-Longevity Varieties (Great for Storage) | Low-Longevity Varieties (Eat Fresh) |
| Honeycrisp | Gala |
| Granny Smith | Golden Delicious |
| Fuji | McIntosh |
| Pink Lady | Red Delicious |
Different apple storage methods can affect freshness, texture, and moisture retention over time. Factors such as temperature, airflow, humidity, and ethylene exposure all influence how long apples stay crisp. Below are some of the most commonly used storage methods and how they typically perform in normal household conditions.
Some storage methods work better for short-term countertop use, while others help maintain long-term freshness inside a refrigerator or cool pantry environment and a cool, dark kitchen pantry isolated from other products. Each method was graded out of 10 based on structural integrity, moisture retention, and flavor preservation.
Our extensive testing revealed that the Best Way to Store Apples comes down to two superior techniques, depending entirely on your available kitchen space.
If you have a spacious pantry or an empty, unheated kitchen cabinet away from other produce, wrapping your apples individually in newspaper and storing them in a single layer is the ultimate preservation method.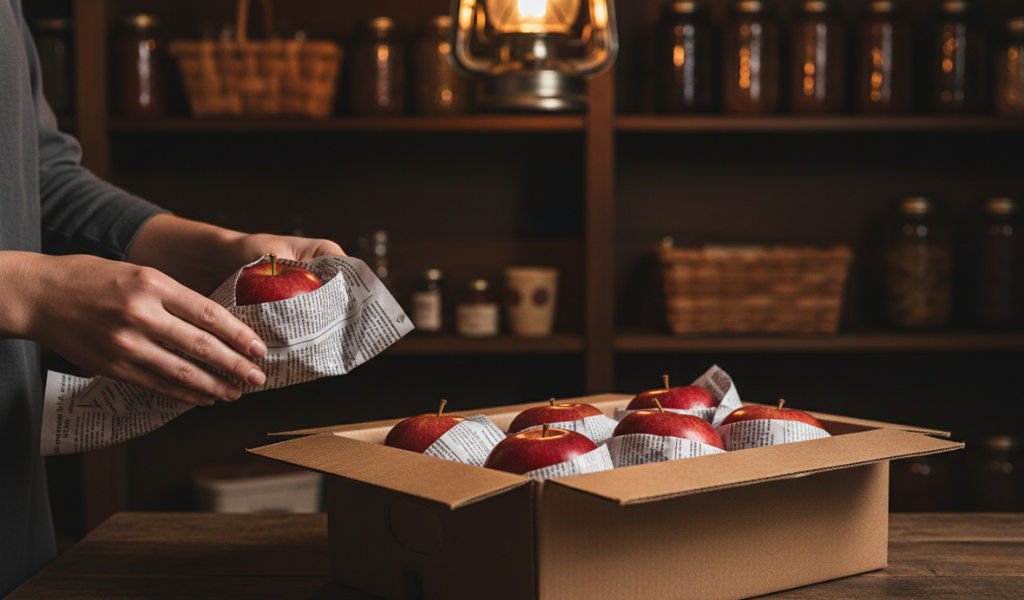
This works so well because the newspaper acts as an individual quarantine shield. Apples naturally release ethylene gas as they sit. By wrapping them separately, you contain each fruit’s gas emissions. More importantly, if one apple happens to contain a hidden blemish and begins to rot, the physical newspaper barrier prevents the mold and moisture from spreading to its neighbors. It stops a chain reaction before it can even start.
If your pantry space is limited, do not worry. Storing your apples inside a closed brown paper bag within your refrigerator’s crisper drawer works nearly as well.
It is important to note that a paper bag on the counter fails miserably, while a paper bag in the fridge excels. Why? Because the low-temperature environment of your refrigerator drops the fruit into a semi-dormant state, drastically lowering its respiration rate and making it far less sensitive to ethylene gas. The paper bag keeps the fruit in total darkness and prevents the refrigerator’s internal fan from pulling away the apple’s natural moisture.
Now you know how to keep your whole fruit crisp for weeks. But what happens when you slice into one for a midday snack or a school lunch box, only to find it turning an unappetizing shade of rusty brown twenty minutes later?
Understanding how do you keep apples from turning brown requires a quick look at food chemistry. When an apple’s skin is cut open, oxygen in the air reacts with natural plant compounds called polyphenols through an enzyme called polyphenol oxidase. This chemical reaction is known as enzymatic browning. It doesn’t mean the fruit is spoiled, but it ruins the visual appeal.
To stop this process, you need to block oxygen from hitting the exposed flesh or deactivate the browning enzyme using acidity. Here are the three most effective kitchen methods to keep your slices looking immaculate:
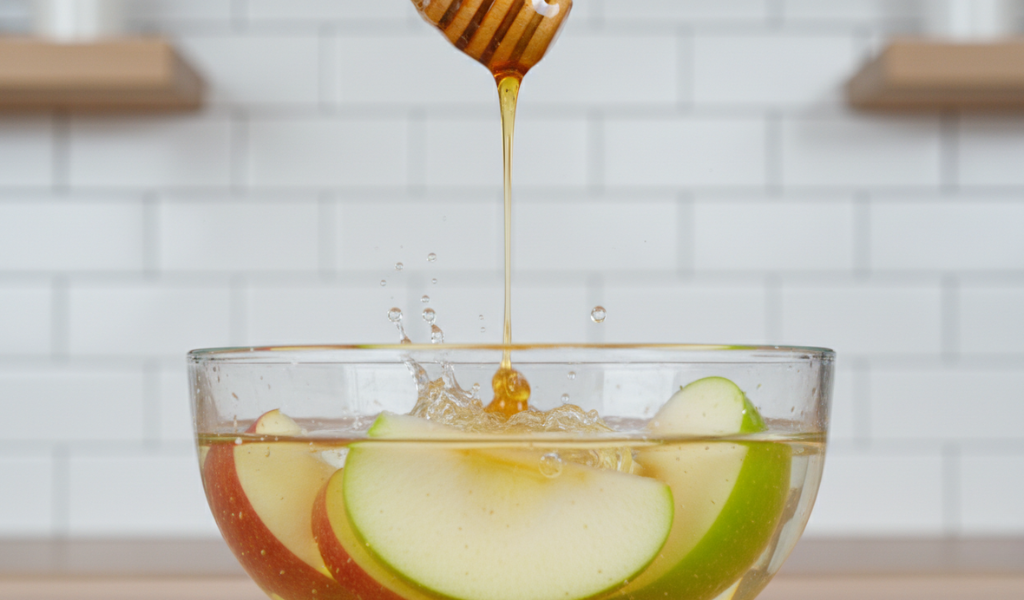
Stir 2 tablespoons of raw honey into 1 cup of cool water until fully dissolved. Submerge your apple slices in this mixture for roughly 3 to 5 minutes, then drain them. Honey contains a natural peptide compound that chemically deactivates the browning enzyme. This method keeps slices bright and beautiful for up to 24 hours without altering their delicious taste.
Mix 1 tablespoon of fresh lemon juice or lime juice into 1 cup of cold water. Soak your cut slices for 5 minutes. The high acidity and rich Vitamin C (ascorbic acid) in the citrus fruit stall the oxidation reaction completely. While highly effective, it does impart a slight lemony tang to the fruit’s surface.
Dissolve 1/2 teaspoon of fine sea salt into 1 cup of cold water. Let your sliced fruit rest in the saltwater bath for about 5 minutes, then give them a thorough rinse under running tap water so they don’t taste salty. Salt is an excellent natural preservative that shields the exposed cells from oxygen.
If you followed our advice on how to store apples but still find yourself with an overwhelming abundance of fruit at the end of two months, don’t let them go to waste. Apples are incredibly versatile in both sweet and savory cooking applications.
Mastering the art of produce preservation doesn’t require expensive kitchen gadgets or commercial equipment. By simply shifting your fruit away from an open countertop bowl and utilizing either the individual newspaper wrap in a dark pantry or a sealed paper bag inside your refrigerator’s crisper drawer, you can enjoy sweet, juicy, and crunch-packed fruit for six weeks or longer.
The next time you return home with an impressive haul from the orchard or grocery store, take a few extra minutes to prep and pack them correctly. Using the right storage method can help apples stay crisp, flavorful, and fresh for much longer. Do you have a favorite apple variety that seems to last forever in your kitchen? Have you tried any of these storage methods before? Leave a comment below and share your kitchen storage triumphs!
No, definitely not. Bananas are incredibly heavy producers of ethylene gas. If you place them next to your apples, the concentrated gas will cause your apples to turn soft and mealy within days. Always keep your apples isolated from bananas, avocados, and peaches.
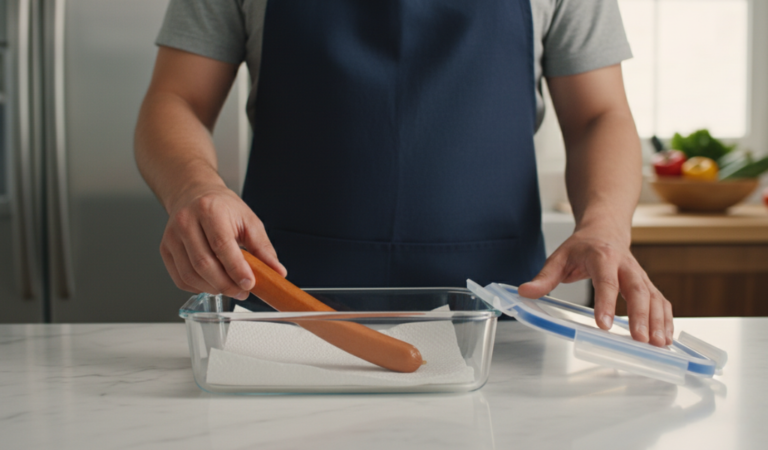
No. Never wash your fruit until right before you intend to slice and eat them. Introducing moisture to the fruit before storage creates a damp environment that encourages the growth of mold spores and speeds up rot. If they have orchard dirt on them, gently wipe them down with a dry paper towel.
No. This is a common kitchen mistake. Potatoes release moisture and specific gases that can cause apples to spoil quickly. Conversely, the ethylene gas from the apples will actually cause your potatoes to sprout eyes and degrade prematurely. Keep these two pantry items in completely separate cabinets.
Apples possess a highly porous skin that easily absorbs surrounding aromas. If you store them loose in the crisper drawer right next to chopped onions, garlic, or pungent cheeses, they will absorb those volatile organic compounds and take on an unpleasant savory flavor. Using a sealed paper bag prevents this odor transfer.
You can freeze them, but not whole if you want to eat them raw later. Freezing causes the water inside the apple’s cells to expand and rupture the cell walls. When thawed, a whole apple turns completely mushy. Instead, slice the fruit, treat them to prevent browning, freeze them flat on a baking sheet, and transfer them to a freezer bag for future baking or smoothie use.
Many varieties naturally produce their own natural wax coating to lock in internal moisture and protect against dehydration. Commercial packers also wash apples and apply a thin layer of food-grade vegetable wax to replace lost natural oils. It is entirely safe to eat, but you can remove it by rinsing the fruit under warm water and scrubbing gently with a clean cloth.