Physical Address
304 North Cardinal St.
Dorchester Center, MA 02124
Physical Address
304 North Cardinal St.
Dorchester Center, MA 02124
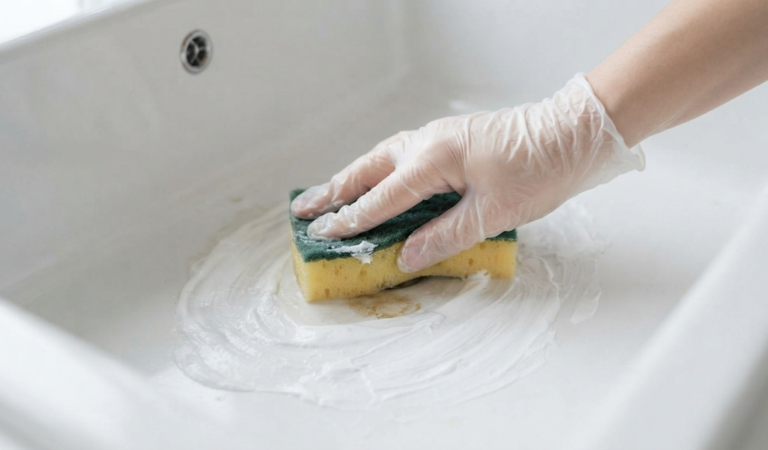
We have all been there. You walk into a freshly cleaned room, take a deep breath, and instead of feeling refreshed, your throat burns from chemical fumes. Many commercial store-bought sprays are packed with harsh, synthetic ingredients that linger in the air long after you finish wiping down the counters. When seasons change and we close up our windows, we end up trapping those exact chemicals inside the very air our families breathe.
Fortunately, you do not have to compromise your health to achieve a spotless home. The secret to a safe, sparkling space is likely sitting in your kitchen pantry right now. Today, we are going to dive deep into how to make cleaning vinegar, transforming an affordable, everyday staple into a heavy-duty household power cleaner.
You can easily create a non toxic scented cleaning vinegar that smells like a fresh orchard instead of a science lab. This comprehensive guide will teach you the exact science behind the cleaning power of vinegar, walk you through a step-by-step master recipe, and reveal how to safely apply this budget-friendly cleaning solution to nearly every surface in your home.
Cleaning vinegar is a vinegar-based cleaning solution used to remove grease, hard water stains, soap scum, and odors from household surfaces. It is commonly made using white distilled vinegar and can be infused with citrus peels or herbs to create a non toxic scented cleaning vinegar for kitchens, bathrooms, glass, and general home cleaning.
To understand why homemade cleaning vinegar is so incredibly effective, we have to look at a little bit of basic chemistry. At its core, white distilled vinegar is an aqueous solution containing acetic acid. This mild acid is a natural enemy to everyday household messes.
When you spray a vinegar-based cleaning solution onto a surface, the acid goes to work by breaking down bonds in dirt, oils, and structural mineral deposits. Here is what happens on a microscopic level:
Beyond its chemical ability to cut through grime, it is completely biodegradable, pet-safe, and child-safe. You can clean your kitchen counters right before prepping a meal without worrying about chemical residues transferring onto your food.
If you stroll down the grocery store cleaning aisle, you will see bottles labeled specifically as “cleaning vinegar” sitting right next to standard white cooking vinegar. Many people wonder if this is just a clever marketing trick. It actually comes down to a very specific structural difference: acid concentration.
Standard white distilled vinegar meant for salad dressings and pickle brines generally features a 5% acidity level, with the remaining 95% consisting of water.
Commercial cleaning vinegar, on the other hand, is usually formulated at a 6% acidity level. While a 1% difference might sound completely minor, it actually makes the solution 20% stronger than standard kitchen vinegar. That extra boost of acetic acid gives it a significant advantage when you are trying to lift stubborn bathroom soap scum or deeply set outdoor patio grime.
Can you still figure out how to make cleaning vinegar using a standard 5% bottle from your pantry? Absolutely. Standard white vinegar is still an absolute powerhouse for daily home maintenance. However, throughout this guide, we will show you how to supercharge that standard 5% pantry staple by infusing it with natural citrus oils and botanical acids, matching—and often exceeding—the cleaning performance of commercial 6% alternatives.
Making your own household cleaner is a satisfying, simple process. It allows you to upcycle everyday kitchen scraps that would otherwise head straight into the trash can or compost bin.
Before you begin, gather these simple household items:
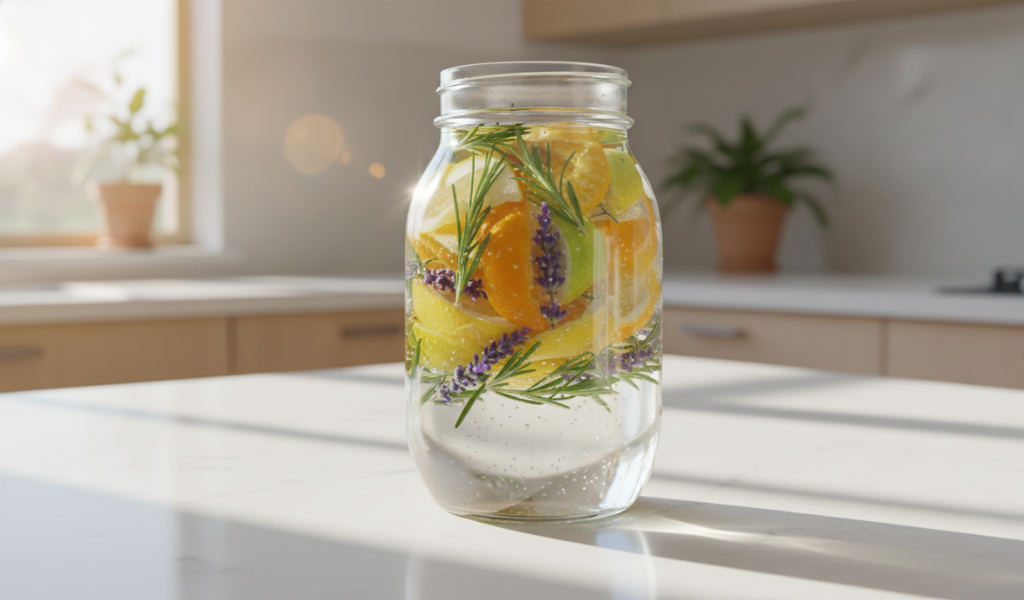
Every time your family enjoys a healthy breakfast salad or a fresh glass of orange juice, save the leftover peels. Slice them into thin strips that can easily slide into your glass mason jar.
Tip: If your family does not eat citrus fruits quickly enough to fill a large jar all at once, keep a dedicated freezer bag in your kitchen freezer. Drop your clean peels into the bag over a couple of weeks. Once you have accumulated enough, thaw them out for an afternoon and pack your jar.
Pack your glass jar tightly with the citrus skins until it is roughly three-quarters full. Next, take your white distilled liquid and pour it directly over the top. Ensure that the peels are completely submerged beneath the liquid line. Any scraps left exposed to open air inside the top of the jar can develop mold during the waiting period. Screw the lid on tightly and give the jar a gentle shake.
Place your packed jar in a cool, dark place—like a kitchen pantry, a lower cupboard, or a storage closet—for two to three weeks. During this quiet steeping window, a wonderful chemical reaction takes place. The acetic acid slowly breaks down the cell walls of the citrus skins, drawing out ‘d-limonene’. 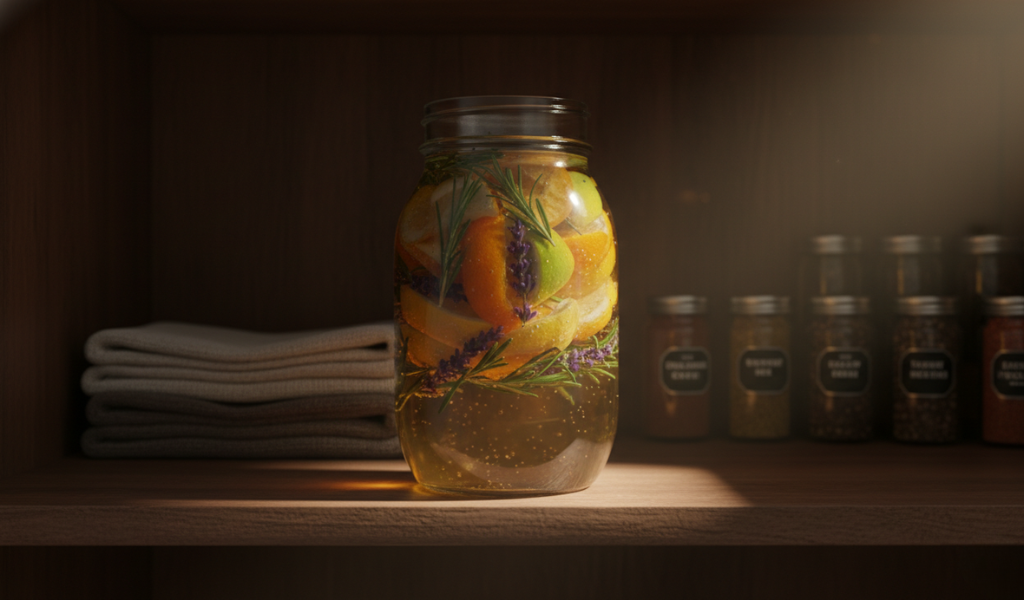 This naturally occurring compound found in citrus oils is an exceptional industrial solvent and degreaser. As the days pass, you will notice the clear liquid change color into a rich, golden amber tint.
Once your waiting window is up, place a funnel over your glass spray bottle, line it with a piece of cheesecloth or a fine mesh kitchen strainer, and pour the mixture through. The fabric will catch any tiny pulp pieces, structural fibers, or loose sediment. Catching these small particles is important; if any tiny bits of pulp slip through into your spray bottle, they can easily clog the internal straw or the fine nozzle mechanism.
Your fresh homemade cleaning vinegar is now officially ready to tackle your home. You can compost the spent citrus skins, leaving you with a completely zero-waste production cycle.
While citrus is the classic choice for cutting through grease, the beauty of a DIY routine is complete customization. By combining different fruits, fresh backyard herbs, and natural spices, you can craft a non toxic scented cleaning vinegar tailored to your favorite seasonal scents.
Here are four exceptional infusion recipes that smell incredible while adding their own unique properties to your spray:
If you love a calming, earthy aroma that grounds your living space, this combination is a must-try. Rosemary contains natural aromatic oils, while lavender is world-renowned for its soothing properties.
For a crisp, bracing scent that screams deep clean, turn to the power of mint leaves and concentrated essential oils.
When the chilly fall weather arrives, you can make your home feel warm and inviting while you clean.
For maximum grease-cutting power, combine the forces of multiple citrus varieties into a single batch.
Once you have filled up your spray bottle, it is time to put your customized cleaning solution to work. Because this spray is a gentle acid, it performs beautifully across various areas of your home.
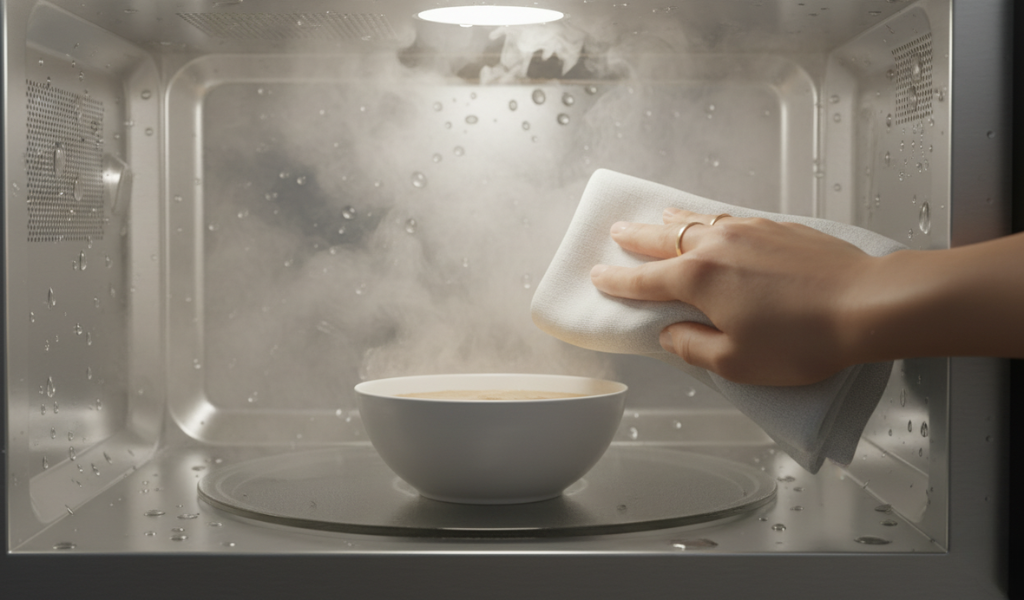
The kitchen is the heart of the home, but it is also a magnet for grease splatters and food spills.
Soap scum and hard water deposits can quickly make a bathroom look dull. Your homemade spray is the perfect solution for restoring brightness.
Say goodbye to expensive blue commercial window sprays that leave chemical streaks behind.
Vinegar isn’t just for hard surfaces; it can do wonders for your fabrics and appliances as well.
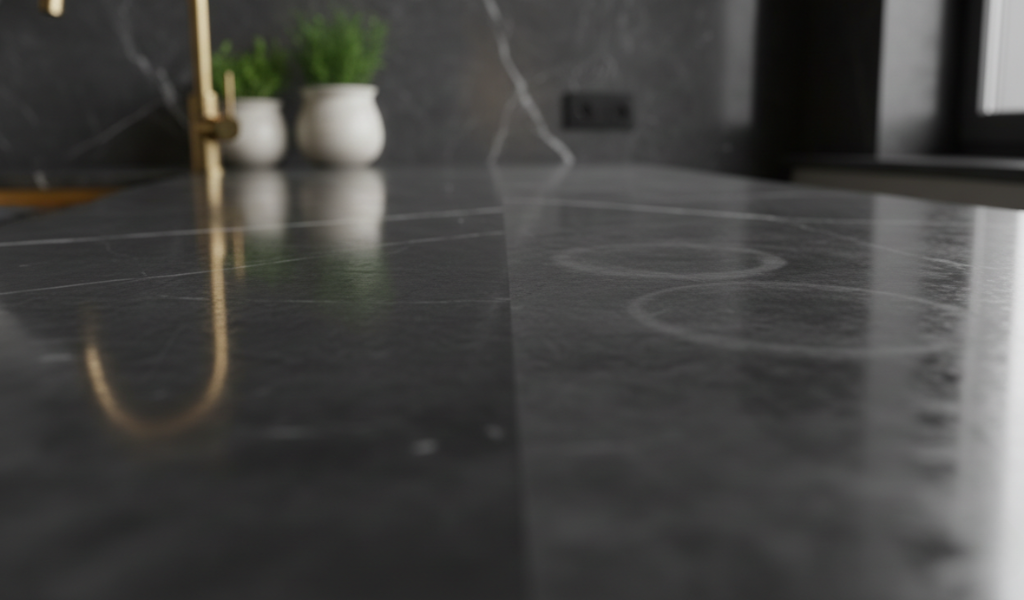
As amazing as vinegar is, it is still an acid. Because it is acidic, it can cause permanent structural damage if used on the wrong materials. To protect your home’s expensive finishes, remember this vital rule: never apply an acidic solution to porous natural stones or high-tech screens.
Make sure to cross these surfaces off your cleaning list:
Taking a few minutes to learn how to make cleaning vinegar at home provides fantastic benefits that go far beyond just keeping your counters clean. It is a win-for-your-wallet choice that also helps look after the planet.
Think about how many plastic cleaning spray bottles a typical household buys and throws away every single year. By investing in one or two high-quality, reusable glass spray bottles and making your own batches at home, you completely stop buying single-use plastic bottles. It is a simple, effective step toward a zero-waste lifestyle.
Let’s look at the financial math. A specialized, name-brand bottle of eco-friendly commercial surface cleaner can easily cost anywhere from $5 to $8 at the grocery store. On the flip side, a massive gallon jug of standard white distilled vinegar usually costs just a few dollars.
By upcycling your family’s leftover citrus peels and blending your own solutions, you can produce a premium, effective cleaner for a fraction of the cost of store-bought alternatives. Over a year of maintaining a busy home, those savings add up to a significant amount of money back in your pocket.
Every single chemical solution we spray in our bathrooms or pour down our sinks eventually flows down the drain and enters local water treatment plants and ecosystems. Heavy commercial chemicals, synthetic dyes, and artificial perfumes can impact aquatic life. Because your infused vinegar is a natural food-grade ingredient, it breaks down quickly and safely, keeping toxic synthetic chemicals out of our shared water supply.
Embracing a greener cleaning routine does not mean you have to buy expensive specialty products or settle for cleaners that don’t get the job done. Learning how to make cleaning vinegar gives you a simple, effective way to take charge of what goes into the air inside your home. It shows that with a bottle of vinegar and some simple kitchen scraps, you can create a powerful cleaner that easily tackles tough grease, dissolves stubborn hard water scale, and leaves your home smelling wonderfully fresh.
Making your own cleaners is a wonderful shift in how we look after our living spaces. It connects us to a simpler way of homemaking, cuts down on household waste, and keeps our families safe from harsh chemical fumes.
The next time you enjoy a fresh orange or slice up a lemon for dinner, save those peels. Start your own infused jar, and enjoy the satisfaction of a beautifully clean, non-toxic home.
Because white vinegar is highly acidic, it acts as its own natural preservative. Your infused version will easily last for up to a year when stored in a cool, dark place. However, to ensure it stays fresh, make sure you use a fine strainer or cheesecloth to remove all organic plant material, pulp, and sediment during bottling. If pulp pieces are left floating in the liquid for months, they can eventually break down and spoil the batch.
Not at all. When you first spray the solution, you will notice a brief, sharp vinegar aroma mixed with your citrus or herb infusion. However, as the liquid dries and evaporates into the air, the pungent acetic acid scent disappears completely. It takes the room’s bad odors along with it, leaving behind a clean space with a faint, natural trace of fresh citrus or herbs.
This is one of the most common DIY cleaning mistakes seen on the internet. While mixing vinegar and baking soda creates a fun, bubbling reaction, that fizz is actually the two ingredients neutralizing each other. The acid and the base combine to create water, sodium acetate, and carbon dioxide gas. If you mix them together inside a closed spray bottle, you are essentially left with an ineffective bottle of salty water. For the best results, use them in steps: spray your vinegar first to loosen grime, then sprinkle baking soda on top to use as a scrubbing paste while the reaction happens directly on the surface.
Absolutely not. You must never mix vinegar with household bleach. Combining an acid like vinegar with sodium hypochlorite (bleach) triggers a rapid chemical reaction that releases toxic chlorine gas into the air. Breathing in chlorine gas can cause severe respiratory damage, coughing, and eye irritation. Always keep your vinegar cleaners completely separate from bleach products.
If your spray bottle stops working, it is almost always caused by tiny bits of citrus pulp or herb sediment that made it past your strainer. To fix this, pour the liquid back out through a clean coffee filter or a double layer of cheesecloth. Soak your spray nozzle assembly in warm water for a few minutes to clear out any trapped particles, reassemble the bottle, and you will be good to go.
Yes, vinegar is completely non-toxic to pets when used for standard surface cleaning around your home. It is an excellent choice for wiping down areas near pet bowls or crate interiors. However, keep in mind that cats and dogs have incredibly sensitive noses and generally dislike strong citrus scents. Make sure your pets are in another room while you spray, and let the surface dry completely before letting them back into the area.