Physical Address
304 North Cardinal St.
Dorchester Center, MA 02124
Physical Address
304 North Cardinal St.
Dorchester Center, MA 02124
We have all been there—the alarm didn’t go off, you are hunting for your car keys, and the thought of standing over a hot stove to scrub a skillet afterward feels like a mountain you just cannot climb. You might have heard through the grapevine that “microwave eggs” are rubbery, tasteless, or only for people who can’t cook. However, that is a total myth. When you master the right techniques, learning how to cook eggs in the microwave is a total game-changer for your daily routine.
Whether you are a student living in a dorm, a busy professional trying to hit the gym before work, or simply someone who appreciates a high-protein meal without the cleanup, the microwave is your best friend. In this comprehensive guide, we will walk you through every method imaginable—from fluffy scrambled eggs to restaurant-style poached yolks. By the time you finish reading, you will be an expert at making “gourmet-style breakfast” in under three minutes.
You do not need fancy, specialized “as-seen-on-TV” gadgets to cook great microwave eggs. You likely have everything you need in your cabinets right now.
Glass or high-quality ceramic mugs are the best options. They hold heat evenly and are less likely to contain chemicals that leach into your food. Avoid very thin plastic containers, as the high fat content in egg yolks can get hot enough to warp the plastic.
Steam is your friend when cooking in the microwave. Instead of using tight plastic wrap (which can melt), use a small microwave-safe saucer or a silicone lid. This traps enough moisture to keep the eggs tender but lets excess pressure vent.
Eggs are notorious for sticking. A quick spray of non-stick oil, a small “dab of butter,” or a wipe of olive oil inside your bowl will make cleanup a breeze.
This is the most common way to microwave eggs, and for good reason. It’s incredibly fast and, when done correctly, results in a texture that is surprisingly light and airy—often more so than stovetop eggs because they don’t dry out on a hot pan.

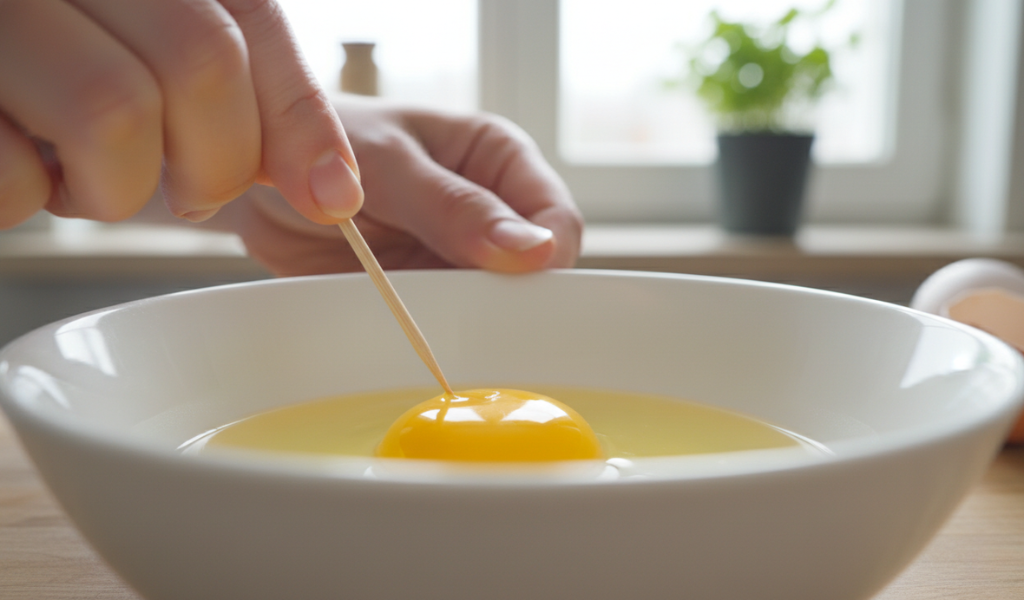
Mastering the poached egg is often considered a culinary rite of passage, but the microwave turns this stressful task into a 60-second win. Fill a small microwave-safe bowl or a ramekin with half a cup of water and a tiny splash of white vinegar, which helps the egg whites coagulate quickly around the yolk. Carefully crack the egg into the water, ensuring it is fully submerged, and give the yolk a tiny prick with a pin or toothpick for safety. Cover the bowl with a saucer to trap the steam and microwave on high for roughly 50 to 60 seconds. You are looking for the whites to be completely opaque while the yolk still wobbles slightly. Use a slotted spoon to lift the egg out of the water and pat it dry on a paper towel; you’ll find it’s just as “silky and rich” as any egg poached on a stove.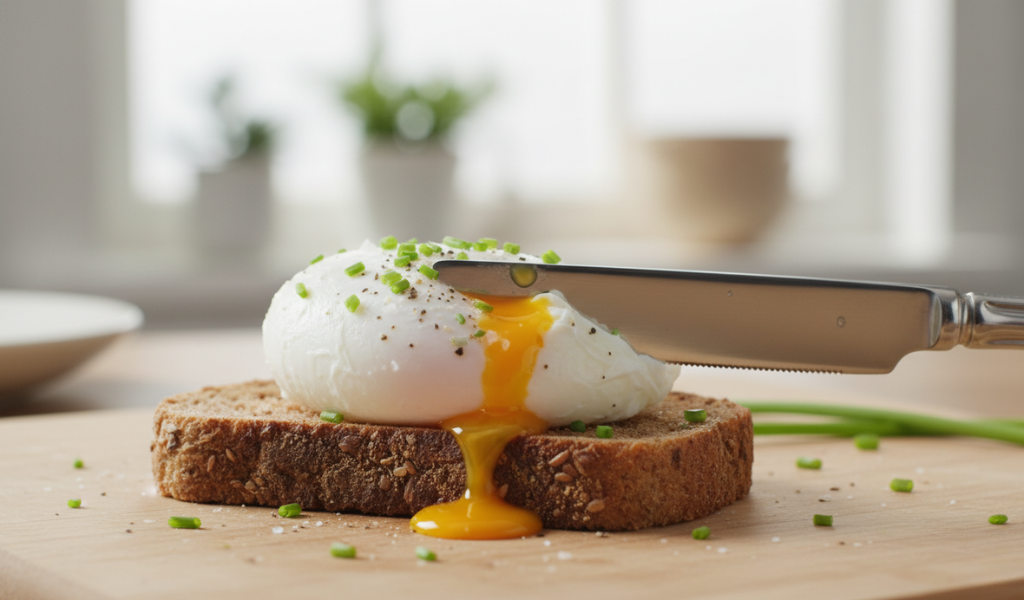
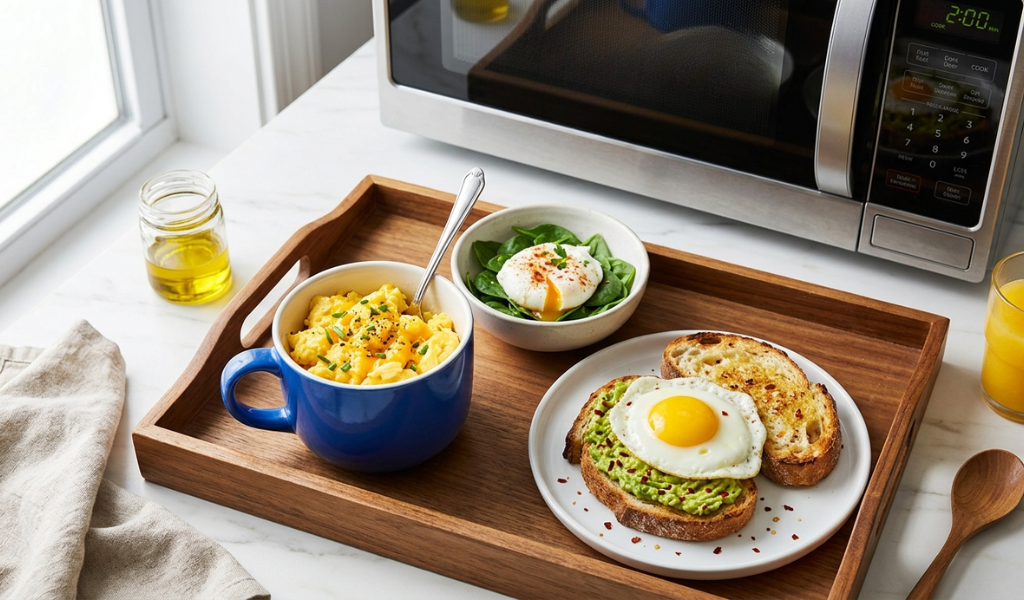
For those who want a hearty, filling breakfast without the fuss of flipping a delicate omelet in a pan, the mug method is a revelation. Start by whisking two eggs with a splash of water or milk in a large, greased coffee mug until the mixture is frothy. This is where you can get creative by folding in finely chopped bell peppers, onions, pre-cooked bacon, or a handful of spinach. Because the microwave cooks so quickly, it is best to chop your “vegetable mix-ins” into very small pieces to ensure they soften in time with the eggs. Microwave the mug on high for one minute, give it a quick stir to redistribute the ingredients, and then cook for another 30 to 60 seconds until the eggs have puffed up like a souffle. Sprinkle a little cheese on top while it’s hot, and you have a portable, protein-packed meal ready to eat.
While you should never put a dry, shelled egg directly into the microwave, you can absolutely “boil” them by using hot water . To do this safely, place your egg in a deep, microwave-safe bowl and cover it completely with water, ensuring there is at least an inch of liquid above the egg. Adding a teaspoon of salt to the water is a vital pro-tip, as it helps regulate the temperature and prevents the shell from cracking under pressure. Set your microwave to 50% power rather than full blast—this slower heating process mimics a stovetop simmer. For a soft-boiled egg with a jammy center, cook for about 4 minutes; for a fully firm hard-boiled egg, aim for 7 minutes. Always let the egg rest in the hot water for a few minutes after the timer dings before transferring it to an ice bath for easy peeling.
You might think that a “sunny-side up” egg is strictly reserved for the skillet, but you can achieve a remarkably similar result with a simple microwave hack. The trick lies in pre-heating a microwave-safe ceramic plate for about 60 seconds until it is hot to the touch. Once the plate is primed, add a small “dab of butter” and tilt the plate to coat the surface. Crack your egg directly onto the warm center and, most importantly, use a toothpick to gently prick the yolk; this prevents the steam from building up and causing an explosion. Microwave the egg on high in short 30-second intervals. The residual heat from the plate helps set the bottom of the egg while the microwave energy cooks the top, resulting in a tender white and a beautiful, runny center that is perfect for sliding onto a piece of avocado toast.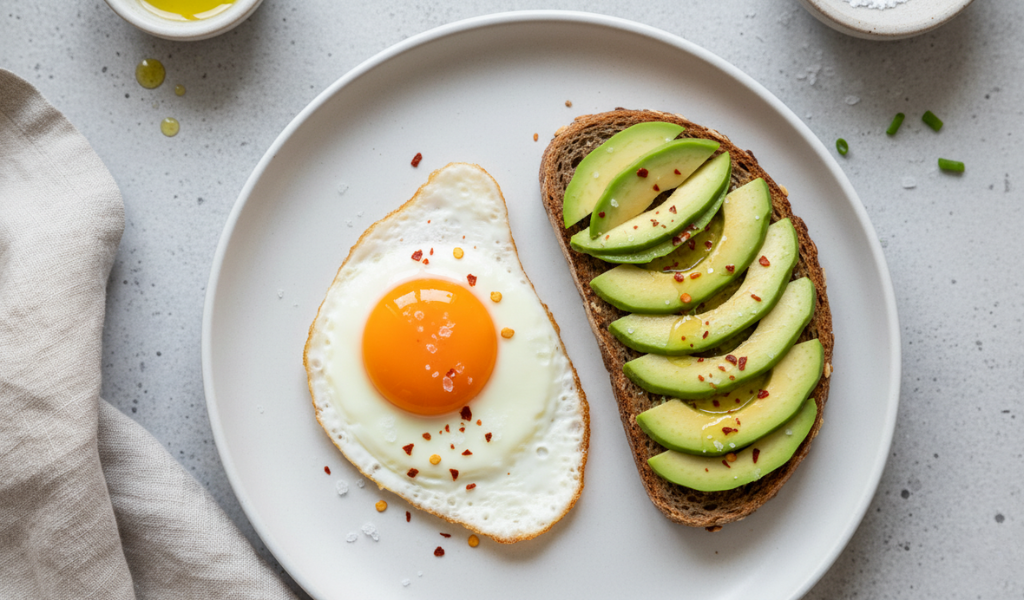
Since microwave cooking is so fast, the flavor comes from what you add. Don’t be afraid to get creative!
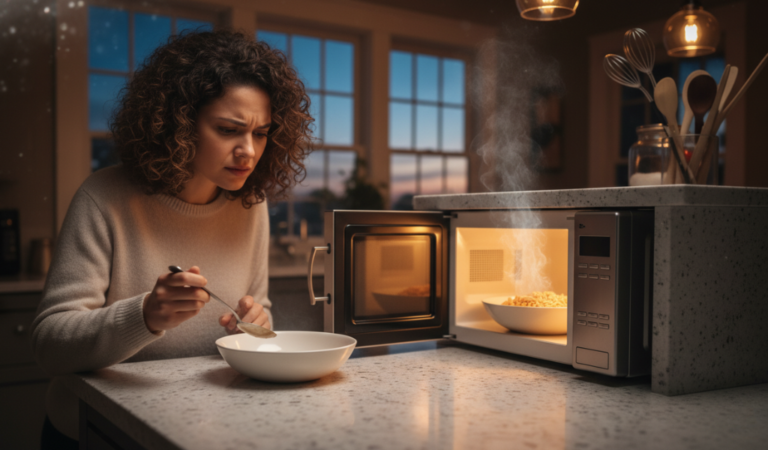
The Cause: Overcooking. Microwaves continue to cook the food even after the “beep” because the molecules are still vibrating. The Fix: Always pull your eggs out when they look “just underdone.” If they look perfect in the microwave, they will be overdone by the time you sit down to eat.
The Cause: Lack of fat and seasoning. The Fix: Ensure you use a bit of butter, whole milk, or cream. Fats carry the flavor of the egg and the seasonings to your taste buds.
The Cause: Not greasing the container or using a container that is too narrow. The Fix: Use a wider bowl if possible, and always use a “non-stick spray” or butter.
When NOT to Microwave Eggs
When in doubt, cook in short intervals and check frequently.
In a world that is moving faster than ever, we often sacrifice nutrition for convenience. We grab a sugary granola bar or skip breakfast entirely. Knowing how to cook eggs in the microwave allows you to have a high-quality, whole-food protein source in the same amount of time it takes to brew a cup of coffee.
It is sustainable, reduces the amount of dish soap and water used for heavy scrubbing, and it is accessible to everyone—from the kid making an after-school snack to the elderly person who finds heavy pans difficult to lift. Using the microwave eggs method isn’t just a shortcut; it’s a way to ensure that even on your busiest days, you aren’t compromising on the quality of your fuel.
Before we dive into the delicious recipes, we have to address the elephant in the room: the potential for an “egg explosion.” You may have seen viral videos of eggs popping like firecrackers, leaving a sticky mess across the kitchen. This happens because eggs are packed with moisture. When you use a microwave, it targets the water molecules, heating them up rapidly and creating steam.
If that steam is trapped inside a membrane (like the yolk) or a solid shell, the pressure builds up until the structure can no longer hold it. To stay safe and keep your kitchen clean, follow these “golden rules”:
Mastering how to cook eggs in the microwave technique is about more than just speed; it’s about efficiency and versatility. Whether you prefer them scrambled, poached, or in a mug-omelet, you now have the tools to make it happen. Remember to keep your cooking intervals short, use the right containers, and never skip the “resting period.”
The versatility of the microwave is often underestimated in the culinary world, but for the modern home cook, it is an indispensable asset. By understanding the physics of steam and the importance of gentle heat, you can turn a humble egg into a masterpiece in seconds.
Call to Action: Give the “Mug Omelet” a try tomorrow morning! Experiment with your favorite toppings and tag us in your breakfast creations. Who knew your microwave was a secret gourmet chef?
Yes. In fact, some studies suggest that because microwave cooking is faster, it may actually preserve more of the delicate vitamins (like B12 and riboflavin) found in eggs that can be destroyed by long exposure to high heat on a stove.
Definitely. Egg whites work wonderfully in the microwave. Since they have less fat than yolks, they cook even faster. For scrambled eggs in the microwave using just whites, reduce your cooking time by about 15–20 seconds.
This is a natural chemical reaction between the sulfur in the whites and the iron in the yolks. It usually happens when eggs are cooked at too high a temperature for too long. To prevent this, use the “stirring method” and cook in short bursts.
You can, but the more eggs you add, the less even the cooking will be. If you are cooking 4 eggs, use a large glass pie plate rather than a mug so the eggs can spread out and cook evenly. Increase the time to about 2 to 3 minutes, stirring every 60 seconds.
That “squeaky” or rubbery texture is a classic sign of over-coagulated proteins. Basically, the egg has been cooked so much that the proteins have tightened up and squeezed out all the moisture. To fix this, add a bit more fat (like butter) and reduce your cook time.
Microwaving is much safer than using a gas or electric stove. However, the containers get very hot. Always ensure children use oven mitts and have adult supervision when removing the hot bowl from the microwave.
.