Physical Address
304 North Cardinal St.
Dorchester Center, MA 02124
Physical Address
304 North Cardinal St.
Dorchester Center, MA 02124

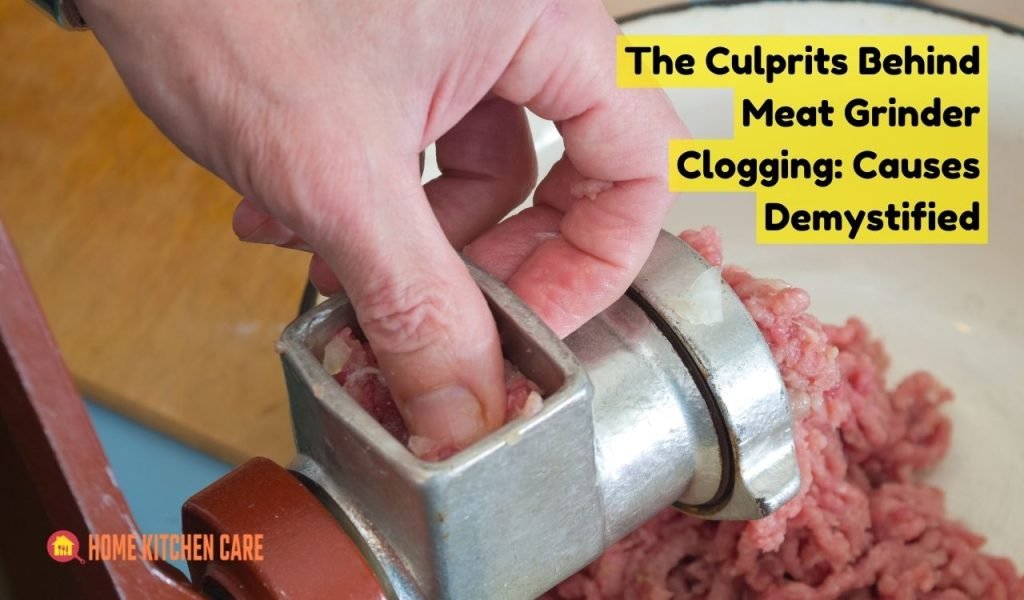
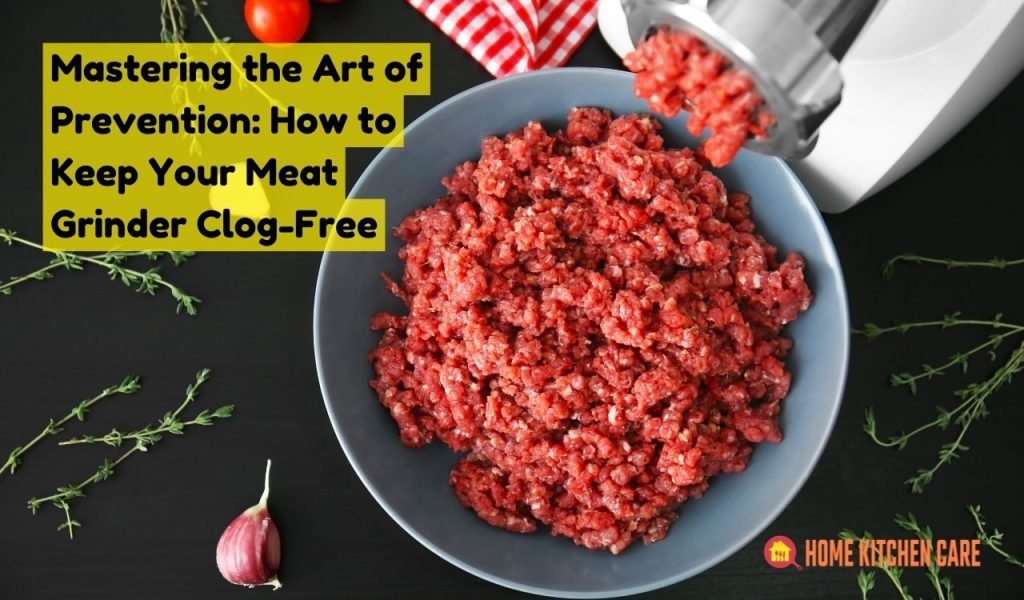
Why is my meat grinder clogging? If you’ve ever found yourself frustrated by this common issue, you’re not alone. But fear not, we’ve got the answers you’ve been searching for. In this guide, we’ll dive into the reasons behind meat grinder clogging and provide you with practical solutions to keep your grinder running smoothly.
No more dealing with frustrating jams or interruptions in your meat grinding adventures. Get ready to unlock the mystery behind clogs and take control of your meat grinder like a pro. So, let’s roll up our sleeves and dig into the nitty-gritty of why your meat grinder might be clogging and how to put an end to this pesky problem once and for all.
Main Summary: Why is My Meat Grinder Clogging?
Meat grinder clogging can be caused by fat accumulation, bone fragments, or improper grinding technique. Prevent clogs by trimming excess fat, removing bones, and using consistent pressure while grinding. Regular cleaning and maintenance are essential for optimal performance.
Frequent clogging of your meat grinder can be quite perplexing. There are several factors that may contribute to this recurring issue. One common cause is insufficient trimming of excess fat and connective tissue. When these materials are not adequately removed, they can get stuck in the grinder’s blades and plates, leading to repeated clogs. Another possible reason is grinding meat that is too cold.
Cold meat is harder for the grinder to process, increasing the likelihood of clogging. Dull blades and plates can also play a role in frequent clogs. Over time, these components can become worn out, making it difficult for them to efficiently grind the meat. Overloading the grinder by feeding it with excessive amounts of meat at once can overwhelm the motor, resulting in frequent clogs. Inadequate cleaning and maintenance practices can also contribute to the problem.
Residue from previous grinding sessions can build up, causing recurring clogs. To minimize frequent clogging, ensure proper trimming of the meat, allow it to reach the optimal temperature, maintain sharp blades and plates, avoid overloading the grinder, and perform regular cleaning and maintenance. By addressing these factors, you can significantly reduce the occurrence of clogs and enjoy a smoother meat grinding experience.
Fatty cuts of meat or meat with a high amount of connective tissue can contribute to clogging. As the fat or tough tissues pass through the grinder, they can accumulate and create a blockage.
Grinding meat that is too cold or partially frozen can impede the grinding process. It’s essential to allow the meat to reach the right temperature for optimal grinding results.
Over time, blades and plates can become dull, which hinders their ability to cut through the meat effectively. Dull components can cause the meat to get stuck, leading to clogging.
Stuffing too much meat into the grinder’s feeding tube at once can overwhelm the motor and cause clogging. It’s important to feed the grinder with smaller batches to maintain a smooth operation.
Now that we’ve demystified the causes of meat grinder clogging, let’s explore some valuable tips to master prevention and ensure a clog-free grinding experience:
Before grinding your meat, take the time to trim off any excess fat and tough connective tissue. This simple step can significantly reduce the chances of clogging and ensure a smoother grinding process.
Ensure that the meat you intend to grind is at the optimal temperature. Partially frozen or overly cold meat can cause clogging. Allow the meat to thaw or reach the recommended temperature range for grinding, usually around 32°F to 40°F (0°C to 4°C).
Regularly inspect your grinder’s blades and plates for signs of dullness or wear. Sharpen the blades as needed or consider replacing them if they are beyond repair. Maintaining sharp blades ensures efficient meat grinding and minimizes the risk of clogs.
To prevent overloading, it’s important to feed the grinder with manageable amounts of meat. Avoid pushing too much meat through the feeding tube at once. Instead, use a steady and consistent feeding pace to maintain smooth operation.
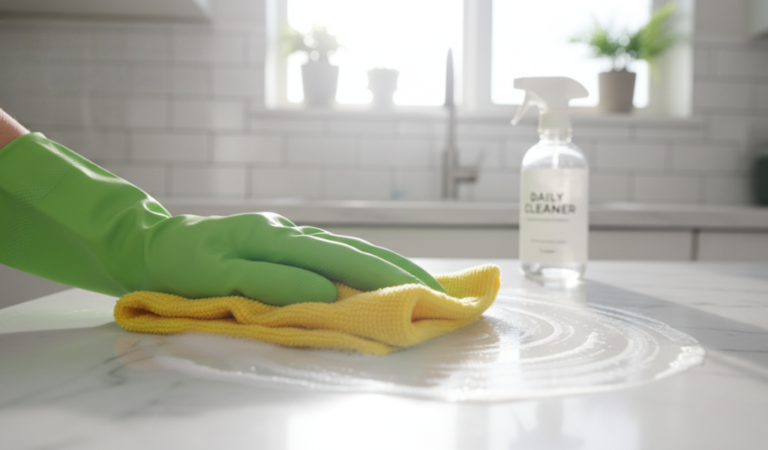
Regular cleaning and maintenance are crucial for preventing clogs. After each use, disassemble the grinder and clean all its components thoroughly. Pay close attention to hard-to-reach areas where meat residue can accumulate. Properly cleaned and maintained grinders function optimally, reducing the likelihood of clogs.
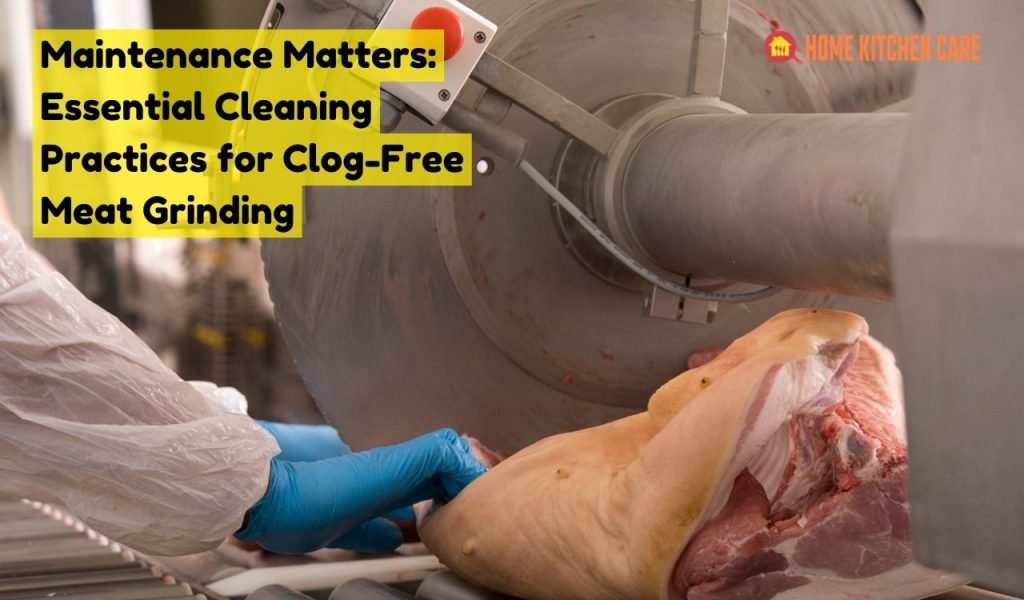
Proper maintenance and cleaning of your meat grinder are key to preventing clogs and ensuring optimal performance. Follow these essential practices to keep your grinder in top shape:
By incorporating these maintenance practices into your routine, you’ll keep your meat grinder clean, well-lubricated, and ready for clog-free meat grinding.
Even with preventive measures, clogs may still occur. When faced with a clogged meat grinder, follow these troubleshooting steps to get things back on track:
By following these troubleshooting steps, you’ll be well-equipped to address clogging issues and get your meat grinder back to smooth sailing.
Prevention is the key to avoiding meat grinder clogs altogether. Master the art of prevention with these practical tips:
Before grinding, take the time to trim off any excessive fat or tough connective tissue from your meat. These can easily accumulate and cause clogs. Removing them beforehand ensures a smoother grinding process.
Ensure that the meat you’re grinding is at the optimal temperature. Partially frozen or overly cold meat can lead to clogs. Allow the meat to thaw or reach the recommended temperature range, typically between 32°F and 40°F (0°C and 4°C).
Avoid overloading the grinder by feeding it with manageable amounts of meat at a time. Pushing too much meat through the feeding tube can overwhelm the grinder’s motor and result in clogging. Feed in smaller batches to maintain a smooth operation.
Regularly inspect the grinder’s blades for signs of dullness or wear. Sharpen the blades as needed or consider replacing them if they are beyond repair. Properly maintained sharp blades ensure efficient meat grinding and minimize the risk of clogs.
After each use, disassemble the grinder and clean all its components thoroughly. Pay close attention to hard-to-reach areas where meat residue can accumulate. Ensure that all parts are completely dry before reassembling the grinder. Proper cleaning and drying prevent residue buildup and reduce the likelihood of clogs.
In conclusion, understanding the reasons behind why your meat grinder is clogging is crucial for a seamless grinding experience. By addressing common culprits such as insufficient trimming, grinding meat at the wrong temperature, dull blades, overloading, and inadequate maintenance, you can significantly reduce the occurrence of clogs.
Remember to follow proper cleaning practices, sharpen or replace blades when necessary, and handle the meat with care. With these insights and preventive measures in mind, you’ll be able to enjoy smooth and hassle-free meat grinding sessions. Don’t let clogs slow you down – take control of your meat grinder and savor the joy of effortless grinding every time.
Grinder jamming can occur due to various reasons, such as using the wrong type of meat or grinding bones, tendons, or sinew. It could also be caused by dull blades or plates, overloading the grinder, or inadequate lubrication. Ensure you’re using the right meat consistency, sharpen the blades, avoid overloading, and lubricate as recommended.
The black residue often seen in meat grinders is usually a combination of meat particles, fat, and seasoning buildup. Over time, these substances can accumulate and oxidize, turning dark. Regular cleaning and maintenance, including thorough disassembly and scrubbing, can help prevent the formation of black residue.
To clear a clogged grinder, start by unplugging it for safety. Then, remove any visible obstructions using a long, narrow brush or a tool designed for meat grinder cleaning. If the clog persists, consider disassembling the grinder and cleaning the blades, plates, and feeding tube thoroughly. Follow the manufacturer’s instructions for proper disassembly and reassembly.
To prevent fat from sticking to the grinder, ensure that the meat you’re grinding is adequately chilled but not frozen. Partially freezing the meat helps it retain its structure while reducing the chances of fat smearing and sticking to the grinder components. Additionally, consider trimming excess fat from the meat before grinding to minimize the risk of clogs.
Proper cleaning is essential for maintaining a clean and hygienic meat grinder. After each use, disassemble the grinder and wash all the removable parts with warm, soapy water. Use a brush to scrub away any meat residue or grease. Rinse thoroughly and ensure all components are completely dry before reassembling.
If your grinder is mushing the meat instead of grinding it properly, there could be a few reasons. One possibility is that the blades or plates are dull and need sharpening or replacement. Another factor could be that the meat is too warm or partially frozen, affecting the grinding process. Ensure the meat is at the optimal temperature and consider sharpening the blades if necessary.
While some meat grinders may require oiling, not all do. Check the manufacturer’s instructions to determine if your specific grinder needs oiling. If oiling is necessary, use a food-grade lubricant or mineral oil and apply it to the moving parts as recommended. Remember not to over-oil, as excessive oil can cause clogs or affect the taste of the meat.
If your grinder becomes clogged, start by unplugging it for safety. Use a long, narrow brush or a specialized tool designed for meat grinder cleaning to remove any visible obstructions. If the clog persists, consider disassembling the grinder and cleaning the blades, plates, and feeding tube thoroughly. Follow the manufacturer’s instructions for proper disassembly and reassembly.