Physical Address
304 North Cardinal St.
Dorchester Center, MA 02124
Physical Address
304 North Cardinal St.
Dorchester Center, MA 02124
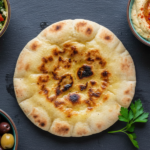
There is nothing quite like the smell of warm, toasted bread filling your kitchen. If you have ever had a fresh piece of Mediterranean flatbread, you know that the texture is everything. But let’s be honest: store-bought pita often arrives in a plastic bag, feeling a bit stiff, cold, and uninspiring. To truly enjoy your meal, you need to know how to bring that doughy goodness back to life.
If you want to turn that cold, chewy disc into a soft, pillowy pocket of heaven, you need to know the best way to heat pita bread. Whether you are preparing a “pita recipe” from scratch or just trying to revive some leftovers for your hummus, the right technique makes all the difference. In this guide, we’ll explore every method—from the quick microwave fix to the charred perfection of an open flame—to ensure your bread is always “perfect.”
The best way to heat pita bread is using a skillet on medium-high heat for 1–2 minutes per side. This method keeps the inside soft while creating a light crispy texture outside.
Other quick methods:
Now let’s go step-by-step
You might be tempted to just grab a piece of pita out of the bag and start eating. However, pita bread is unique because of its high starch content. When it sits at room temperature or in a refrigerator, those starches undergo a process called “retrogradation.” Essentially, the starch molecules crystallize, which is a fancy way of saying the bread gets dry, stiff, and brittle.
By applying just a little bit of heat, you “re-gelatinize” those starches. This process pulls moisture back into the structure of the bread, bringing back the elasticity and softness. If you are following a specific pita recipe, you’ve put in the work to get that perfect pocket; don’t let it go to waste by serving it cold! A warm pita isn’t just about temperature—it’s about structural integrity. When warm, the bread can fold without snapping, and the pocket opens up easily without tearing the sides.
If you ask any professional chef or home cook who values texture, they will likely tell you that using a heavy-bottomed skillet, cast iron pan, or an electric griddle is the best way to heat pita bread. This method gives you total control over the “char” and the “suppleness.”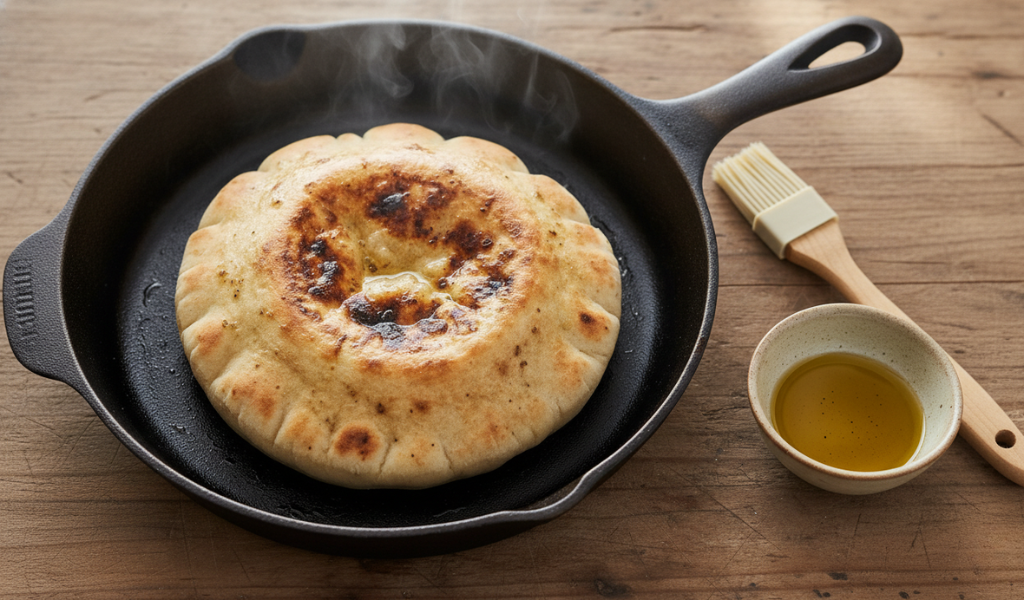
Why it works: The direct contact with the hot metal creates a slightly crisp exterior while the steam trapped inside the pocket makes the middle incredibly soft. From my experience, skillet method gives the best balance of softness and light crisp, especially for wraps and shawarma.
This is the absolute “best” way to serve pita alongside chicken shawarma, as the oil on the bread complements the spices of the meat.
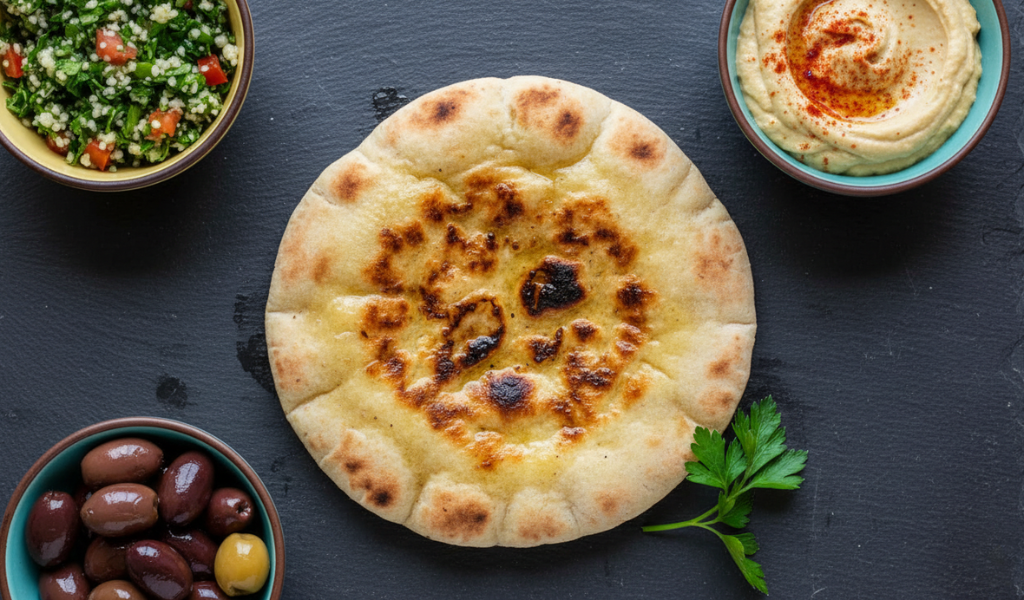
Imagine you are hosting a big family dinner. You have a massive bowl of Greek salad, a platter of grilled meats, and a mountain of hummus. You cannot stand over a stove flipping one pita at a time. This is where your oven becomes your best friend.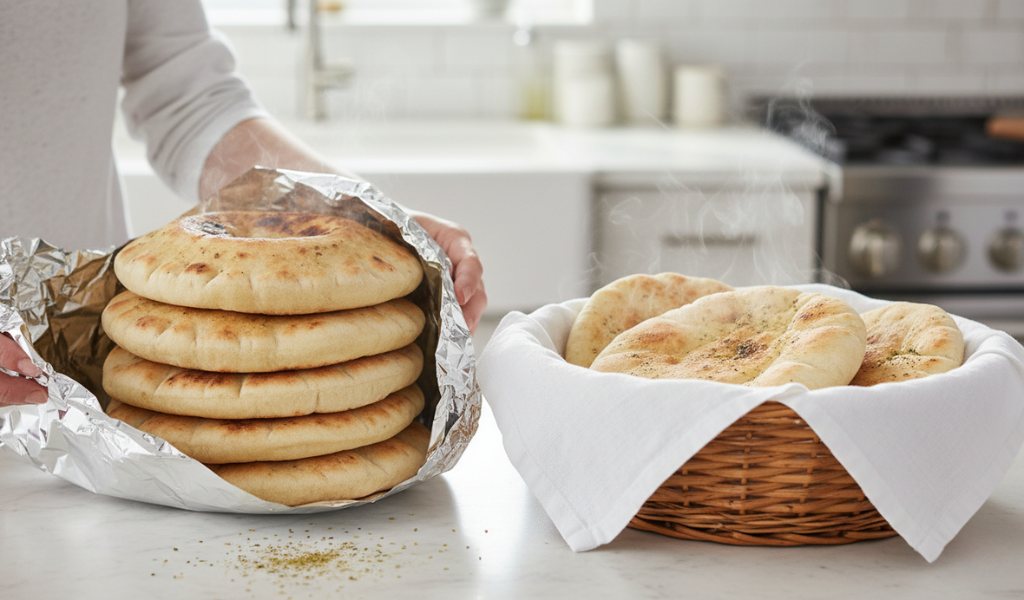
If you want your bread to stay soft and “steamed,” this is the way to go:
If you prefer a little more “crunch” on the edges:
Insight: If you own a pizza stone or a baking steel, you can treat your store-bought pita like it’s being baked fresh. Place the stone in the oven during the preheat. Once hot, toss the pitas directly onto the stone for 2 minutes. They will puff up beautifully, almost like a “magic” trick.
We have all been there—your lunch is ready, but the bread is cold, and you only have 30 seconds before your next meeting. Can you use the microwave? Yes, but proceed with caution. Microwaves work by vibrating water molecules, and if you overdo it, the moisture will escape, leaving you with a piece of bread that feels like “cardboard” within minutes.
The secret to a successful microwave reheat is added moisture.
This creates a “steaming” chamber. The result is a very soft, flexible pita that is perfect for wrapping around a gyro or making a quick wrap. However, be warned: you must eat it immediately. Once the steam vanishes, the bread will harden faster than any other method.
Sometimes, you don’t need the bread to be soft enough to fold. If you are serving a thick dip like baba ganoush or a chunky spinach artichoke dip, a sturdier, crispier bread is actually better.
Simply pop the pita into your toaster slots. If the pita is too large for your toaster, simply cut it in half. Use a medium setting (usually a 3 or 4). This method is excellent for getting a “toasted” flavor. It is also a fantastic way to handle gluten free pita bread. Gluten-free dough often lacks the structural strength of wheat, so a quick toast can keep it from falling apart when you scoop up your food.
For the bold cooks who want that “restaurant-style” finish, heating your pita directly over a gas flame is the ultimate secret. This is common in many Mediterranean and Middle Eastern households. It provides a charred, smoky aroma that mimics a wood-fired oven.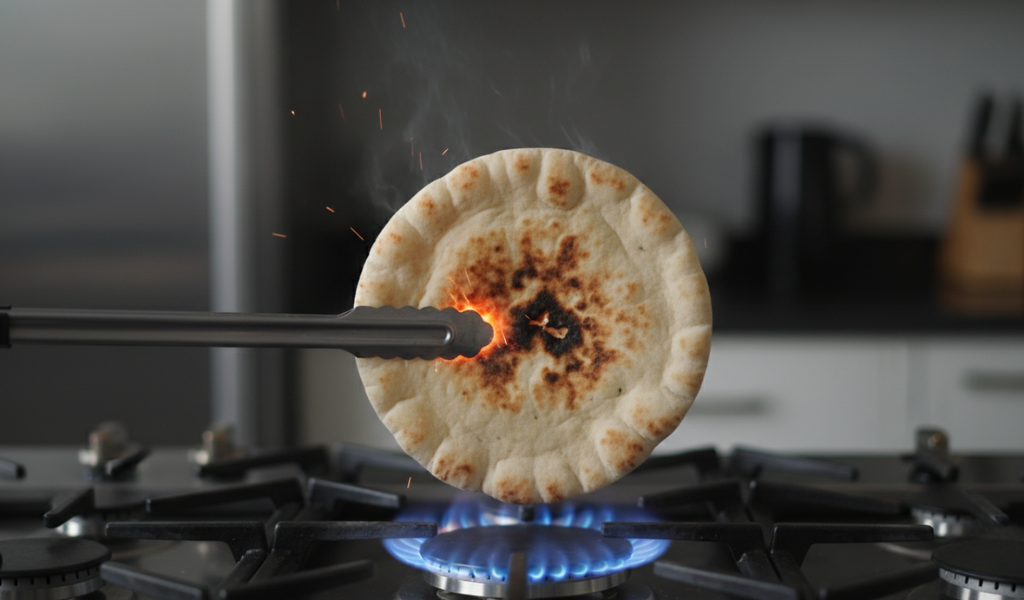
Safety First: Use long metal tongs and never leave the stove unattended.
Important: Do not use oil for this method. Oil can drip into the gas elements and cause a flare-up. Keep the bread dry and let the fire do the work.
Always check texture before reheating.
Special Considerations: Gluten Free Pita Bread.
Working with gluten free pita bread requires a specialized touch. Because these pitas are made with alternative flours like rice, almond, or tapioca, they behave differently than traditional wheat bread. They tend to be drier and can crumble easily if they aren’t handled with care.
How you grease your pita (or don’t) changes the flavor profile entirely.
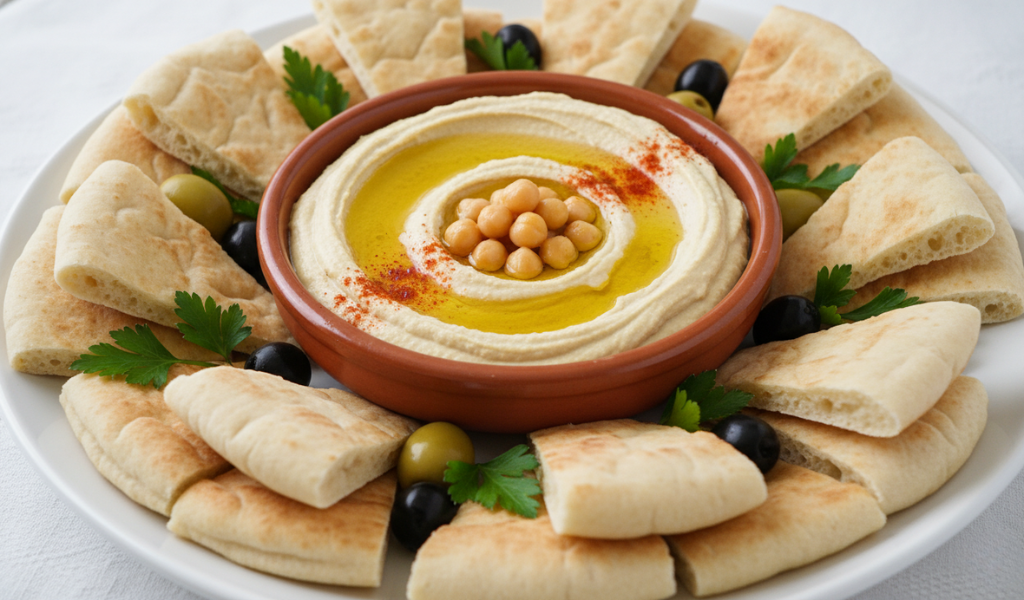
Now that you know how to heat it, what should you serve with it? A warm pita is a “blank canvas.”
While store-bought is convenient, nothing beats a homemade pita recipe. If you have the time, making your own bread ensures it is 100% “fresh.”
Basic Ingredients:
The Secret: The “pocket” in a pita is created by a blast of high heat. When the dough hits a hot surface, the water inside turns to steam instantly, blowing the dough up like a balloon. Whether you bake them at 500°F in an oven or cook them on a scorching cast-iron skillet, heat is the key to that famous gap in the middle.
At the end of the day, the best way to heat pita bread depends on your schedule and what’s on your plate. If you want the absolute best flavor and texture, the skillet method with a brush of olive oil is the undisputed champion. It honors the bread’s heritage and brings out the best in its simple ingredients.
However, don’t be afraid to use the oven for large groups or the microwave for those “busy” Monday lunches. Bread is meant to be enjoyed, and a little warmth goes a long way in making a meal feel “complete.” Now that you are a pita-heating expert, grab your favorite dip, heat up a fresh batch, and enjoy!
Absolutely! An air fryer is a great tool for this. Set it to 320°F (160°C) and heat for 2–3 minutes. If you want pita chips, cut them into triangles first, toss with oil, and air fry at 370°F for 5–7 minutes until “crunchy.”
The secret is “moisture” and “coverage.” Always wrap your bread in a towel or aluminum foil immediately after heating. This traps the steam and keeps the fibers of the bread soft.
It depends on the dish. Olive oil is the “authentic” choice for Mediterranean food. Butter is better for a softer, more savory crust that tastes great with breakfast items.
The microwave with a damp paper towel is the most reliable way to soften gluten-free bread without it becoming too dry or brittle. If you want a crust, use a skillet with plenty of oil.
It is not recommended. Each time you heat and cool bread, the starches become tougher and the moisture evaporates. It is “best” to only heat what you plan to eat immediately.
If you are making a pita recipe from scratch and it didn’t puff, your heat likely wasn’t high enough. The oven or pan needs to be extremely hot to create that instant steam. If it’s store-bought, it might just be a “pocketless” style of pita (like some Greek varieties).
Always heat the pita whole. This keeps the steam trapped inside, which ensures the interior stays soft. If you cut it first, the steam escapes and the edges can get dry and sharp. Cut it into triangles right before you serve it.