Physical Address
304 North Cardinal St.
Dorchester Center, MA 02124
Physical Address
304 North Cardinal St.
Dorchester Center, MA 02124
Discover the secret to hassle-free candle making with how to melt wax in microwave! Say goodbye to traditional methods and embrace the simplicity of crafting beautiful candles right in your microwave. Yes, you read that right! We’re about to unveil a quick and easy guide that will ignite your creativity and have you melting wax like a pro in no time.
No more complicated setups or waiting around for hours – this microwave method is a game-changer! Whether you’re a seasoned candle maker or just starting on this waxy adventure, you’re in for a treat. Grab your microwave-safe containers, your favorite candle wax, and let’s dive into this unconventional yet exciting journey of melting wax in the microwave.
Buckle up and get ready to create stunning candles with minimal effort – it’s time to unlock the microwave magic!
Main Summary: How to Melt Wax in Microwave?
Put wax chunks in a microwave-safe container, heat in 30-second intervals on low, stirring between cycles until fully melted. Avoid overheating or using flammable containers. Enjoy smooth, hassle-free melting! Learn the art of safely melting wax in the microwave with us.

Melting wax in the microwave is a convenient and time-saving method that opens up a world of creative possibilities for crafters, candle enthusiasts, and DIY enthusiasts alike. Whether you’re making scented candles, crafting wax seals, or creating unique art projects, mastering the art of melting wax in the microwave is a valuable skill.
In this step-by-step guide, we will take you through the entire process of melting wax safely and efficiently in just five simple steps. The microwave method offers an excellent alternative to traditional melting techniques, as it eliminates the need for cumbersome double boilers and minimizes the risk of scorching or overheating.
However, as with any craft, safety and precision are paramount. We will not only walk you through the melting process but also provide essential safety precautions to ensure your experience is hazard-free. From choosing the right wax and microwave-safe containers to checking the temperature and troubleshooting common issues, we’ve got you covered.
With a conversational tone, real-life examples, and an engaging storytelling approach, this guide aims to empower you to embark on your wax-melting journey confidently. So, grab your wax and microwave-safe containers, and let’s dive into the art of melting wax in the microwave – an exciting and versatile technique that will enhance your creative projects like never before!
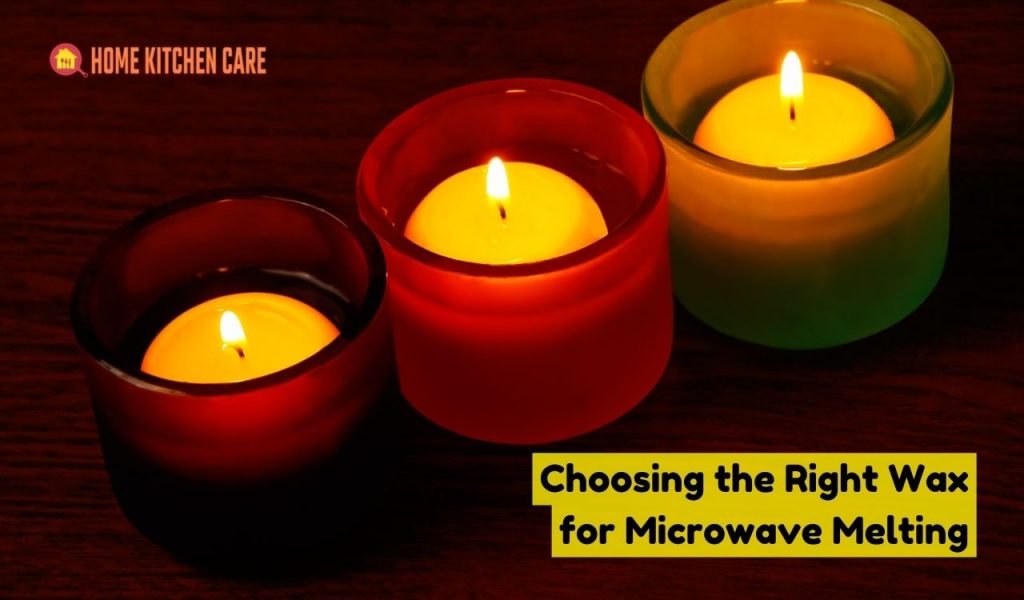
Selecting the correct type of wax is a crucial first step in the microwave melting process. Not all waxes are suitable for microwave use, and using the wrong type can lead to uneven melting, discoloration, or even safety hazards. To ensure a successful wax melting experience, consider the following factors when choosing the right wax for microwave melting:
By considering these factors and choosing the right wax for microwave melting, you’ll set the foundation for a smooth and successful wax melting experience. Remember to follow the safety precautions and guidelines provided by the wax manufacturer to ensure a hazard-free and enjoyable crafting journey.
Safety should always be a top priority when handling hot wax. The microwave melting process involves high temperatures, which can cause accidents if not handled properly. To ensure a safe experience, follow these precautions:
Use a microwave-safe container specifically designed for heating and melting purposes. Glass, microwave-safe plastic, or silicone containers are ideal choices. Avoid using metal containers, as they can cause sparking or damage to your microwave.
Accurately measure the amount of wax you intend to melt. Overfilling the container may cause the wax to overflow when heated. Use a kitchen scale or volume measurements to ensure precision.
Microwaving wax in short intervals is key to preventing overheating and potential hazards. Set your microwave to a low power level, such as 50%, and heat the wax in short bursts. Stir the wax between each interval to distribute heat evenly.
When handling the hot container, always use oven mitts or heat-resistant gloves. The container and melted wax can reach high temperatures and cause burns if not handled with care.
Ensure your workspace is well-ventilated to disperse any fumes released during the melting process. Wax fumes can be harmful when inhaled in large quantities, so keep the area properly ventilated or work near an open window.
Once your wax is completely melted, it’s essential to perform a temperature check to ensure it’s at the right level for your intended use. Different projects require specific wax temperatures to achieve the best results. Follow these steps to conduct a temperature check:
A candy or cooking thermometer is an excellent tool for checking the temperature of your melted wax accurately. Carefully dip the thermometer into the melted wax, making sure the tip is submerged but not touching the container’s bottom. Wait for a few seconds until the reading stabilizes.
The ideal temperature for various projects may vary, but generally, the following guidelines can be helpful:
If the temperature is too high, allow the wax to cool slightly before proceeding with your project. To raise the temperature, return the container to the microwave for a short burst at a low power setting.
Maintaining the right temperature is crucial for achieving the desired results in your projects. It ensures proper adhesion, smooth texture, and overall quality of the finished product.
Despite following the steps carefully, you may encounter some common issues during the wax melting process. Let’s explore troubleshooting tips for addressing these problems:
Uneven melting can occur if the microwave power is too high or if the wax chunks are too large. To solve this, cut the wax into smaller pieces and melt it at a lower power setting, ensuring you stir frequently.
If you’ve accidentally overfilled the container, causing the wax to overflow during melting, carefully remove excess wax using a heat-resistant spoon or spatula. Be cautious not to spill any hot wax onto yourself.
Discoloration may occur if the wax is overheated. Avoid heating the wax above its recommended temperature range to maintain its original color and quality.
Air bubbles may form in the melted wax during the stirring process. To eliminate air bubbles, gently tap the container on a flat surface or use a heat gun to release trapped air.
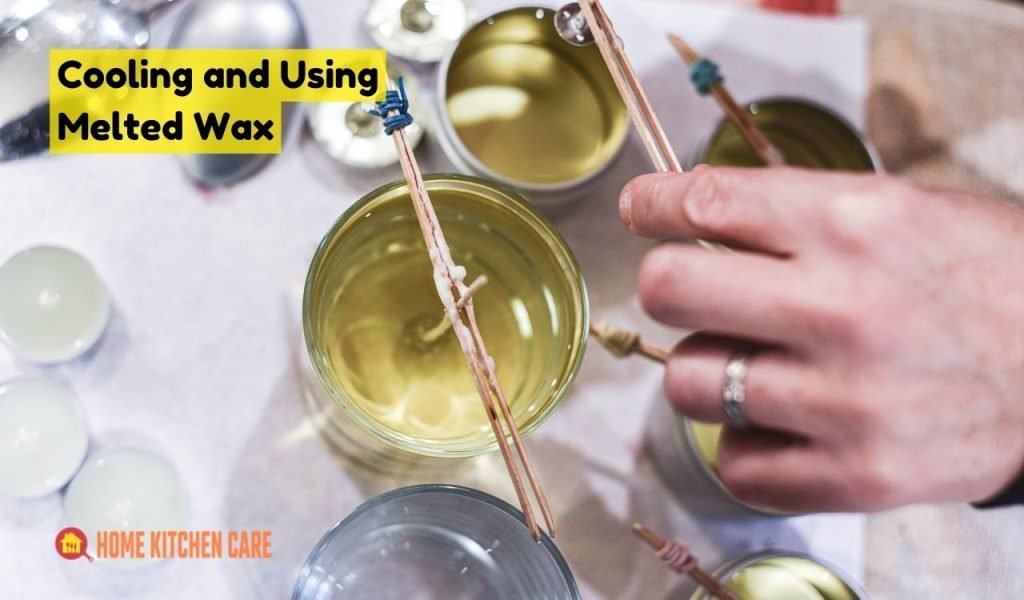
Now that you have successfully melted the wax, it’s time to let it cool down and explore the creative possibilities of your newly melted wax. Follow these steps to cool and use the wax effectively:
After melting the wax, set the container aside to let it cool naturally. Avoid placing it in the refrigerator or freezer, as sudden temperature changes can affect the wax’s texture and quality.
Check the wax’s temperature periodically as it cools down using the thermometer. The optimal temperature for using melted wax in various projects typically ranges between 120°F to 150°F (48°C to 65°C).
If you plan to use the melted wax for candle-making, prepare the candle molds or containers beforehand. Slowly and carefully pour the cooled wax into the molds, leaving some space at the top to accommodate any shrinkage during cooling.
For crafting projects, consider using various tools like brushes, molds, or stamps to manipulate the wax while it’s still pliable. Create beautiful designs and textures to personalize your crafts.
If you have leftover melted wax, you can store it for future use. Allow the wax to cool completely in the container before sealing it with an airtight lid. Store it in a cool, dry place away from direct sunlight.
Once your melted wax has cooled and solidified, you can now enjoy the fruits of your labor. Admire your beautifully crafted candles or unique craft projects, and share your creations with friends and family.
In conclusion, melting wax in the microwave is a versatile and convenient method that opens up a world of creative possibilities. Whether you’re crafting beautiful candles or engaging in various wax-based projects, the microwave offers an accessible and efficient solution.
By following the safety precautions and utilizing the right tools, you can confidently embark on your creative journey, infusing your space with warmth and charm. Embrace the joy of creating personalized masterpieces and let your imagination soar as you explore the art of melting wax in the microwave. From candle-making to unique crafts, this process empowers you to bring your creative visions to life with ease and convenience.
So, let the microwave become your artistic ally and bask in the satisfaction of witnessing your wax-based creations shine brightly, adding a touch of magic to your surroundings. Happy melting!
Yes, you can melt candle wax in the microwave. It is a convenient method for various crafting projects and candle-making endeavors.
When done with proper precautions, melting wax in the microwave is generally safe. Use microwave-safe containers and follow recommended guidelines for heating.
The best way to melt candle wax is in a microwave-safe container using low to medium power settings. Heat in short intervals and stir for even melting.
Yes, it is safe to melt soy wax in the microwave, similar to other types of wax. Follow safety guidelines and use microwave-safe containers.
If you don’t have a warmer, you can use a microwave or a double boiler on the stovetop to melt wax. Both methods are effective and safe with proper handling.
The heating time for hard wax in the microwave depends on the amount and type of wax. Generally, start with short intervals of 30 seconds and adjust as needed until it melts completely.
To soften candle wax, place the candle in a warm environment, like a sunny spot, or wrap it in a warm towel. Alternatively, use a hairdryer on low heat to soften the wax.
Boiling water alone will not effectively melt candle wax. Use methods like a double boiler or microwave-safe container to melt the wax safely.
Melting wax for candle-making offers more customization options, but burning candles provides immediate ambiance. Both methods have their benefits, depending on the desired experience and purpose.