Physical Address
304 North Cardinal St.
Dorchester Center, MA 02124
Physical Address
304 North Cardinal St.
Dorchester Center, MA 02124

The difference between a mediocre dessert and a legendary one often lies in the texture of the pie crust. In the culinary world, achieving that perfect, shatteringly flaky consistency is considered a rite of passage. One of the most vital—yet often misunderstood—tools in a baker’s arsenal isn’t a fancy rolling pin or a high-end oven; it is the refrigerator.
Managing the temperature of your pie dough is the single most important factor in determining whether your baked pie will be a triumph or a soggy disappointment. In this expanded guide, we will explore every facet of handling, storing, and perfecting your crust, from the initial mix to the final golden-brown baked pie crust. You should always refrigerate pie crust before baking to maintain texture and structure.
Does Pie Crust Need to Be Refrigerated?
Yes, pie crust should be refrigerated before baking because:
For best results, refrigerate pie dough for at least 2 hours or overnight.
To understand why we refrigerate pie crust, we have to look at what happens inside the oven. A traditional pie crust is composed of flour, a pinch of salt, a liquid (usually ice water), and a solid fat—most commonly butter, shortening, or lard.
When you mix the dough, your goal is to keep the fat in distinct, cold chunks. As the pie bakes, these chunks of fat melt. Because they are cold when they enter the high heat, they release steam rapidly before the flour has a chance to set. This steam creates tiny air pockets. Once the fat has melted and the moisture has evaporated, those air pockets become the “flakes” we all crave.
If the pie dough gets too warm during the rolling or shaping process, the fat softens and begins to coat the flour molecules. Instead of distinct layers of fat and flour, you get a homogenous paste. This results in a “mealy” or “short” crust that is crumbly rather than flaky, or worse, a tough and greasy unbaked pie crust that shrinks down the sides of the pan.
The answer is a resounding YES! In fact, most expert bakers insist on it. Whether you are dealing with a frozen pie that needs thawing or a fresh batch of dough, time in the fridge is your best friend.
When you stir water into flour, gluten proteins begin to link up. This gives the dough structure, but too much gluten development makes the crust rubbery and tough. By letting the dough refrigerate the pie crust overnight, you allow those gluten strands to “relax.” This makes the dough significantly easier to roll out and prevents it from snapping back like a rubber band.
When you first mix pie dough, the moisture isn’t perfectly distributed. Some areas might be a bit dry, while others are sticky. An overnight rest allows the moisture to migrate through the starch molecules evenly. This prevents the edges from cracking when you roll them out later.
Even if you work quickly, the friction of your hands or the ambient temperature of the kitchen will soften the butter. Refrigerating the dough overnight ensures that every single piece of fat is chilled to its core, ready to create that explosive steam in the oven.
Preparation is the key to a stress-free holiday or dinner party. You can prepare your crust in two distinct stages.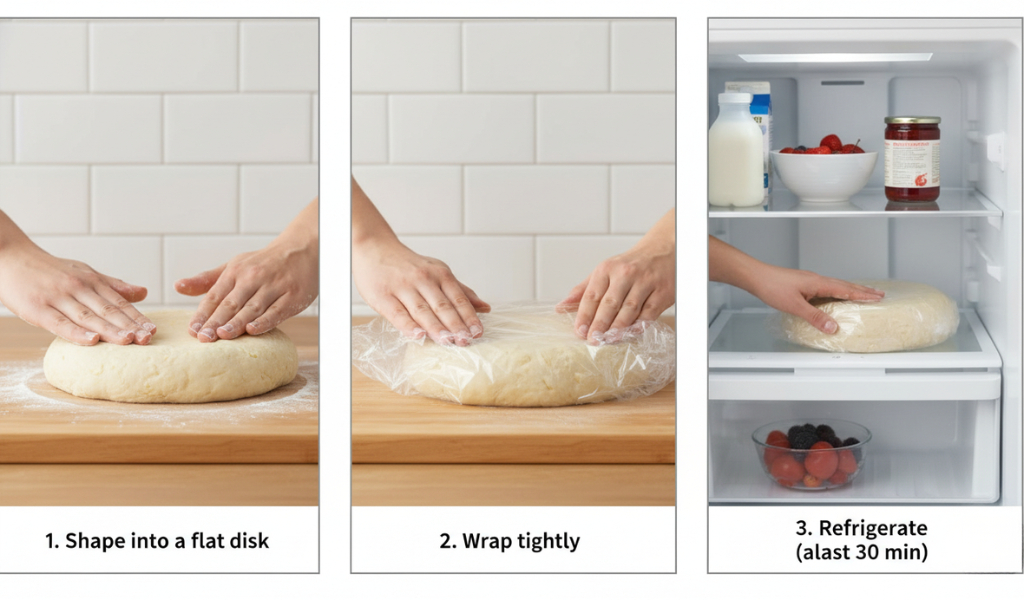
If you want to save time on the day of baking, you can pre-shape your unbaked pie crust.
While we all love the flavor of homemade, sometimes a frozen pie or store-bought pie crust is a necessary shortcut. Here is how they compare:
| Feature | Homemade Pie Dough | Store-Bought (Refrigerated) | Frozen Pre-Formed Shell |
| Best Storage | Refrigerator (2–3 days) | Original Packaging | Freezer (until use) |
| Shelf Life | 3 days fridge / 3 months freezer | Use-by date | 6–9 months |
| Texture Quality | Superior flakiness | Consistent/Convenient | Good for pot pies/custards |
| Preparation | Needs 2+ hours chill time | 15 mins room temp rest | Bake from frozen usually |
“Blind baking” is the process of baking the unbaked pie crust before adding the filling. This is non-negotiable for cream pies, silk pies, or any baked pie with a very liquid filling like quiche.
If you are a “batch baker,” the freezer is your best friend. A frozen pie crust is essentially a “time capsule” for freshness.
To achieve the best pie crust, you must balance three chemical components: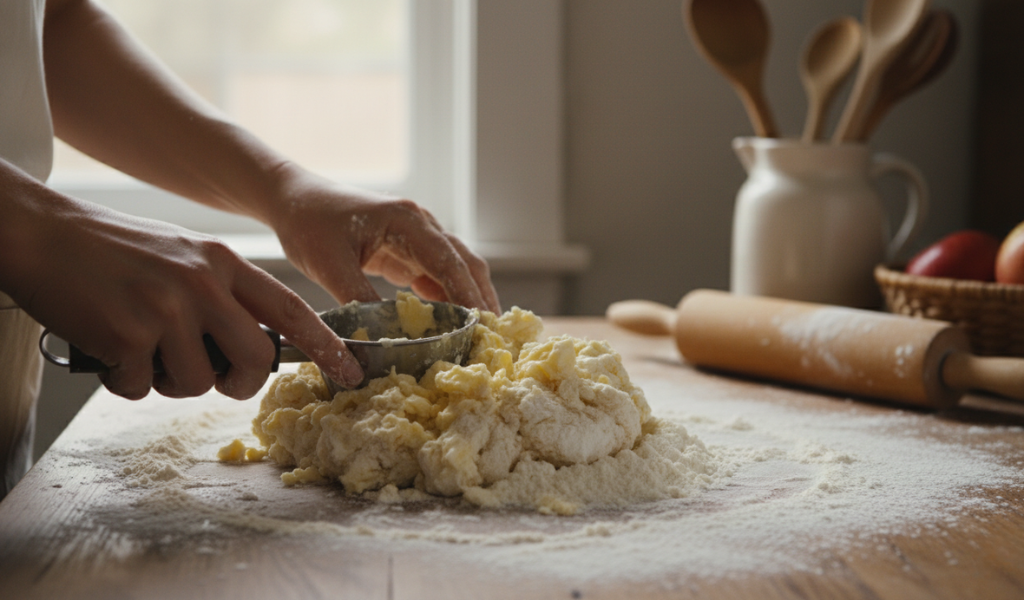
This happens when you refrigerate pie crust for a long time. The butter is simply too cold.
This is usually caused by two things: you didn’t let the gluten relax (skip the overnight chill), or you stretched the dough when putting it in the pan.
This occurs when the filling soaks into the raw dough before it has a chance to bake.
The journey to the perfect pie starts long before the oven is turned on. By choosing to refrigerate pie crust overnight, you are respecting the science of baking and giving your ingredients the time they need to perform their best. From handling delicate pie dough to mastering the blind bake, these techniques ensure that your hard work results in a beautiful, delicious, and structurally sound masterpiece.
Whether you are baking a classic apple pie or a savory pot pie, remember that patience is just as important as the flour and butter. Keep it cold, let it rest, and enjoy the flaky rewards!
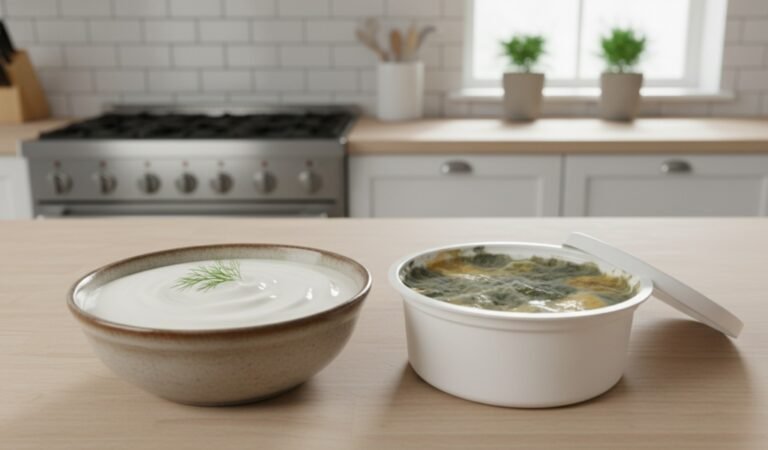
Q: Can I refrigerate pie dough for more than 3 days?
A: It is not recommended. After 3 days, the raw flour can begin to oxidize, turning the dough a dull gray color. Furthermore, the moisture can eventually lead to a “gummy” texture. If you aren’t ready to bake after 3 days, move the dough to the freezer.
Q: Why does my store-bought unbaked pie crust crack when I unroll it?
A: Store-bought crusts are often packed very cold. If you try to unroll them straight from the fridge, they will crack. Let the box sit at room temperature for about 15 minutes before unrolling to make the dough more pliable.
Q: Can I use a glass pie plate for a frozen pie?
A: Be careful. Extreme temperature changes (thermal shock) can cause glass to shatter. If you are taking a frozen pie from the freezer to a hot oven, it is safer to use a metal tin or a tempered glass dish specifically rated for such transitions.
Q: Is it okay to reuse pie weights?
A: Yes! Ceramic weights can be washed and dried. If you use dried beans, keep them in a jar labeled “Pie Beans.” You can use them dozens of times, but do not try to cook and eat them after they have been baked—they will remain hard as rocks!
Q: Can I refrigerate a baked pie with the crust?
A: Yes, but it depends on the filling. Fruit pies can stay on the counter for a day but should be moved to the fridge for longer storage. Any baked pie containing eggs or dairy (like pumpkin or custard) must be refrigerated immediately after cooling.
Q: How do I prevent the edges of my crust from burning?
A: Use a “pie shield” or a simple ring of aluminum foil. Place it over the edges of the baked pie crust during the last 15–20 minutes of baking to protect the delicate crimped edges from the direct heat.