Physical Address
304 North Cardinal St.
Dorchester Center, MA 02124
Physical Address
304 North Cardinal St.
Dorchester Center, MA 02124
In this comprehensive guide, we will explore every technical detail, culinary secret, and storage hack you need to know about creating a frozen pumpkin pie that tastes just as good—if not better—than one fresh out of the oven.
Not all pies are created equal when it comes to the freezer. Fruit pies with high water content can often become runny, and delicate meringue toppings will collapse and weep. However, pumpkin pie belongs to the custard family, and its chemistry is uniquely suited for cold storage.
The pumpkin pie filling is a complex mixture of pumpkin purée, eggs, cream or evaporated milk, and sugar. When these ingredients are baked, the proteins in the eggs coagulate to form a dense, structural network that traps moisture and fat. This structure is incredibly resilient to the expansion and contraction that happens during the freezing process.
Similarly, the high fat content in the pie crust—whether you use butter, lard, or shortening—acts as a natural moisture barrier. Since fat does not contain water, it doesn’t form large ice crystals that shatter the dough’s structure. This allows the crust to maintain its flaky, “short” texture even after being frozen and thawed.
To ensure your frozen pumpkin pie remains free of freezer burn and off-flavors, you need the right supplies. Using the wrong wrap or container is the fastest way to end up with a dessert that tastes like “freezer air.”
While any standard pumpkin pie can be frozen, certain crust techniques make the process even more successful. If you are baking specifically to freeze, consider a “pâte brisée” style crust with a high butter-to-flour ratio.
Pro Tip: Adding a teaspoon of vodka to your pie dough instead of just water can help. The alcohol evaporates during baking, creating air pockets for flakiness, but since alcohol doesn’t develop gluten like water does, the crust remains tender and less prone to becoming “tough” after a stint in the freezer.
Furthermore, ensure you “blind bake” or par-bake your crust for about 10 minutes before adding the pumpkin pie filling. This creates a hardened barrier that prevents the custard from soaking into the dough, which is the primary cause of a soggy frozen pumpkin pie.
Follow these specific steps to ensure your pumpkin pie survives the deep freeze and emerges looking like a masterpiece.
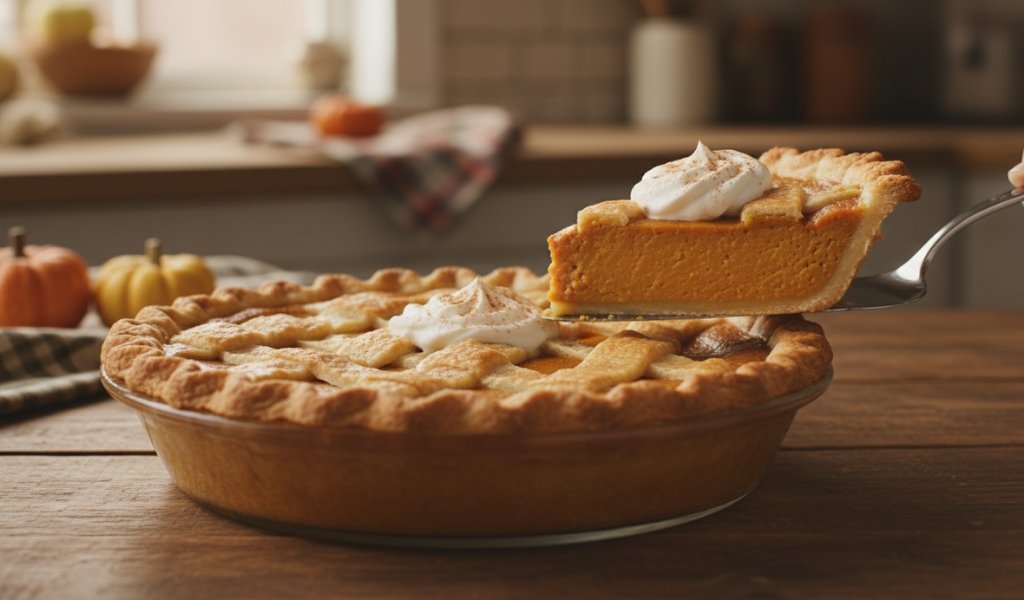
Ensure your pie is fully baked according to your recipe. The centre should have a slight jiggle (like Jell-O), but the edges should be set and slightly puffed. A fully cooked custard is necessary for a successful freeze; an under-baked filling will separate and become watery.
This is the most critical step. You must let the pie reach room temperature. This usually takes at least 3 to 4 hours on a wire rack. If you wrap a warm pie, steam will be trapped inside, creating condensation. This leads to a “soggy bottom” and unsightly ice crystals on the surface of your pumpkin pie filling.
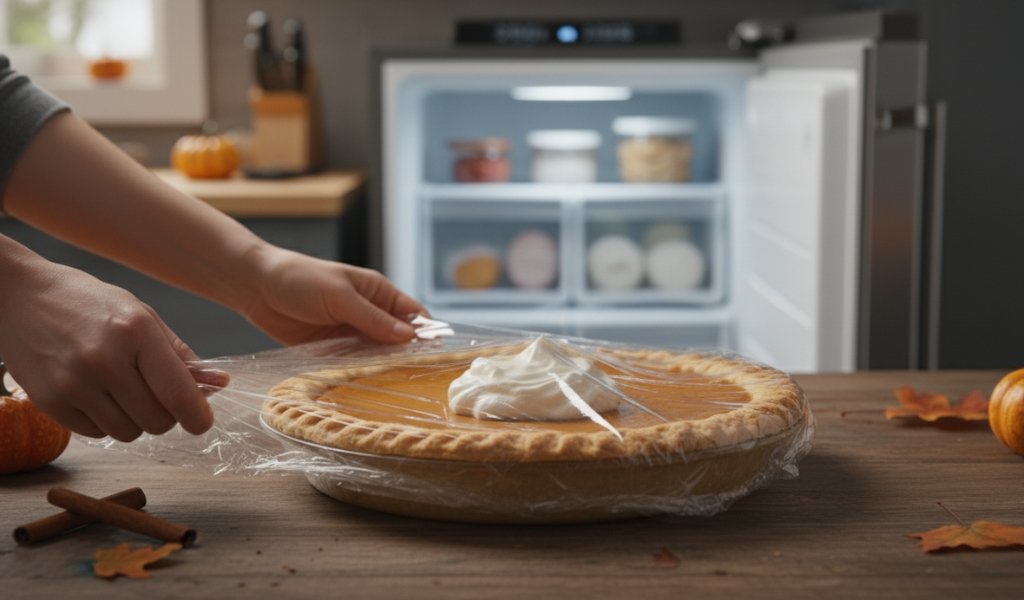
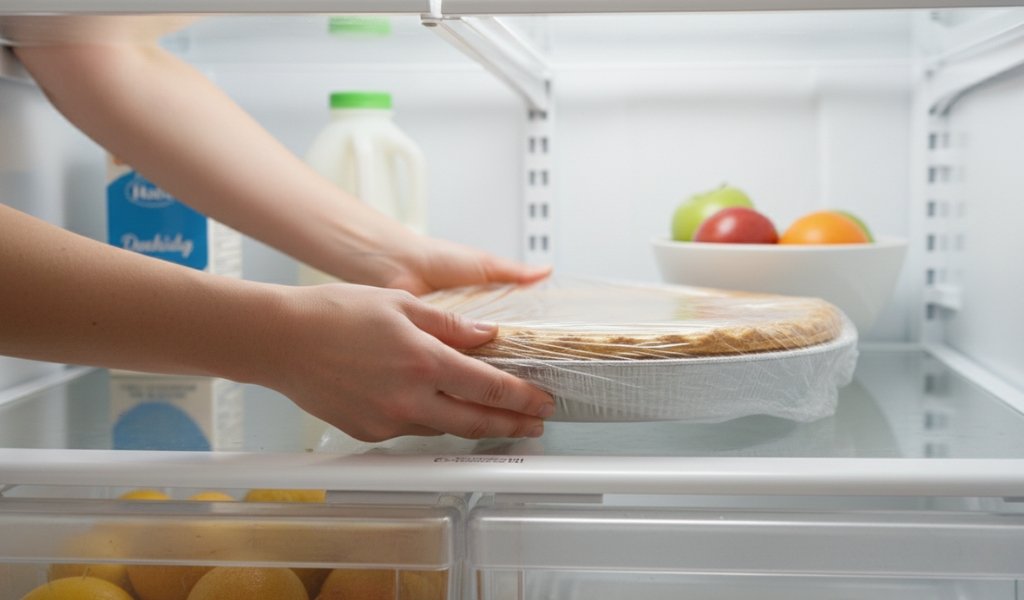
Once cool, wrap the entire pie (including the pan) tightly in three layers of plastic wrap.
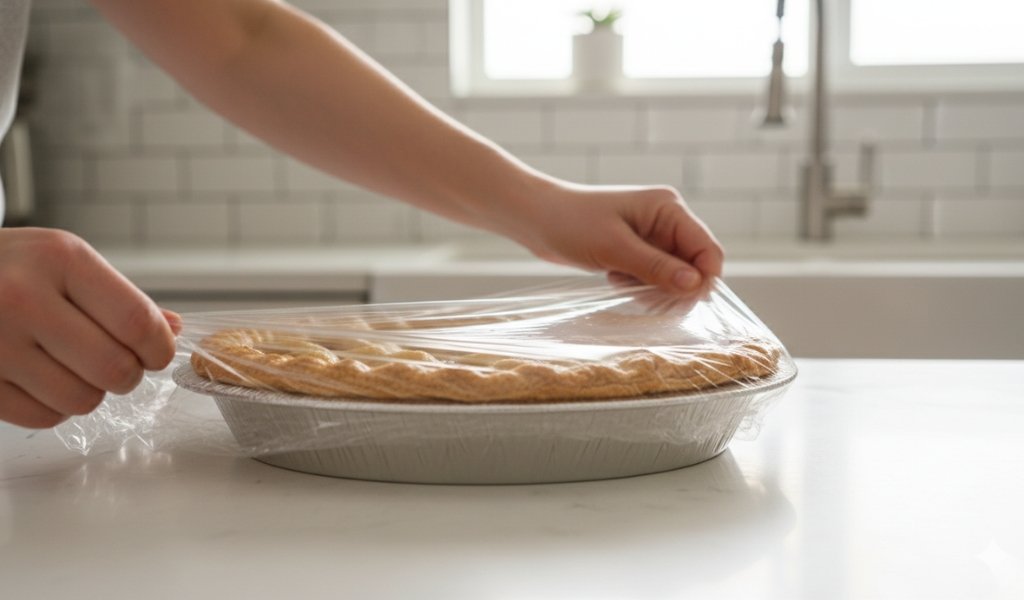
Do not just drape it over the top; the wrap should be snug. For the best results, some bakers place a circle of parchment paper directly on the surface of the filling before wrapping to prevent the plastic from sticking.
Add a final layer of heavy-duty aluminium foil over the plastic wrap. This prevents the pie from absorbing the smells of other frozen foods (like onions or seafood). It also protects the pie from light, which can degrade the fats in the crust over time.
Place the pie on a flat, level surface in your freezer. If the pie is tilted while it freezes, the filling may shift slightly before it hardens. Do not stack anything on top of it until it is frozen solid (about 6-12 hours).
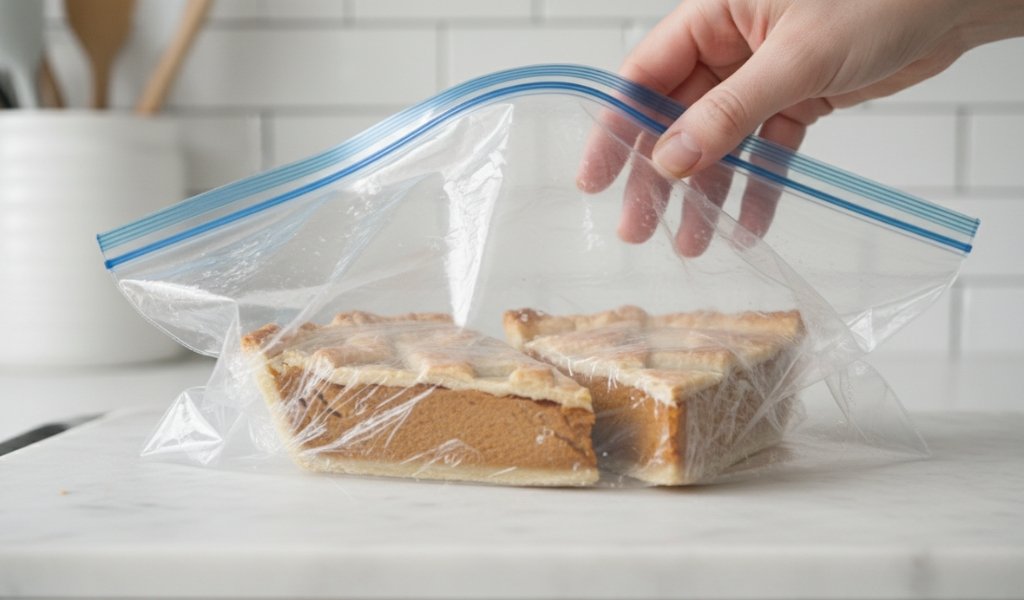
If you have leftovers or just want a single-serving treat for later in the winter, you can freeze individual slices. This is a great way to portion-control your holiday treats!
Thawing is where most people go wrong. If you take a frozen pumpkin pie and leave it on the counter to thaw at room temperature, you are inviting disaster. The rapid temperature change causes moisture to condense on the surface and “weep” out of the custard.
The Slow Thaw Method:
Sometimes, despite your best efforts, the plastic wrap might leave a slight indentation or “matte” spot on the top of the pumpkin pie filling. Don’t panic! This doesn’t affect the taste at all.
Yes! If you are short on freezer space and can’t fit a whole pie, or if you prefer to bake your crust fresh on the day of the event, you can freeze the pumpkin pie filling by itself.
Can you freeze a pumpkin pie you bought at the grocery store? Absolutely. In fact, many warehouse stores (like Costco) sell pies that have already been frozen and thawed.
| Feature | Homemade Pie | Store-Bought Pie |
| Freezer Life | Up to 1 month | 2 weeks recommended |
| Best Pan | Disposable Foil | Original Packaging (wrapped) |
| Texture Quality | High / Flaky | Moderate / Soft |
| Defrost Time | 12-24 Hours | 12 Hours |
| Ingredient Control | Full (can use less sugar) | Pre-set |
A Note on Store-Bought: If you are freezing a store-bought pie, do not rely on the cardboard box it comes in. These boxes are breathable and will lead to freezer burn within days. Always remove the pie from the box and wrap it in plastic and foil as described above.
Mastering the art of the frozen pumpkin pie is more than just a kitchen hack—it’s a survival strategy for the holiday season. By taking the time to bake and freeze your pie a few weeks in advance, you aren’t just saving time; you’re ensuring that the dessert course is handled with professional precision.
The holiday season is meant to be spent with loved ones, not hidden away in the kitchen scrubbing flour off the counters. A frozen pumpkin pie gives you the gift of time. Remember, the “secret sauce” isn’t in a special ingredient, but in the patience of the cooling and thawing process. If you resist the urge to rush the cool-down and commit to a slow, refrigerated thaw, your guests will never guess that their delicious slice of pumpkin pie was tucked away in the freezer while you were still planning your guest list.
Whether you are working with a cherished family recipe passed down through generations or a reliable store-bought pumpkin pie, these steps guarantee a high-quality result every time. So, go ahead and clear some space in your freezer today—in the future you will be incredibly grateful when the oven is crowded and the kitchen is buzzing on the big day.
A pumpkin pie can stay frozen for up to 1 month without losing significant quality. While it is safe to eat for up to 3 months, the crust may begin to lose its flakiness and the filling may develop “ice tracks” or a grainy texture after the 30-day mark.
This is usually caused by “weeping,” which happens if the pie was thawed too quickly at room temperature. The moisture in the custard separates from the protein. To prevent this, always thaw slowly in the refrigerator.
Yes. Follow the instructions for “Freezing Pumpkin Pie Slices” by wrapping them individually to prevent the exposed edges of the pumpkin pie filling from drying out.
Yes! Sweet potato pie has a nearly identical chemical structure (starch, eggs, and dairy) to pumpkin pie and follows the exact same freezing and thawing rules.
It is highly recommended to freeze the pie after baking. Freezing an unbaked custard pie often results in the crust becoming soggy as the filling thaws and soaks into the raw dough before the oven can set it.