Physical Address
304 North Cardinal St.
Dorchester Center, MA 02124
Physical Address
304 North Cardinal St.
Dorchester Center, MA 02124
Many people wonder: can you freeze apples to use later in recipes? Apples are the quintessential fruit of autumn, but their season is fleeting. We’ve all been there: you return from the orchard with bushels of crisp, tart fruit, only to realize two weeks later that they are starting to lose their snap. No one likes soft, soggy apples!
If you find yourself with an abundance of fruit, freezing apples is the single best way to preserve that “just-picked” flavor for year-round use. Whether you are preparing for a frozen apple pie, planning morning smoothies, or making a batch of frozen apple slices for snacks, this guide covers everything you need to know about how to freeze apples effectively.
The short answer is a resounding yes. However, it is important to manage your expectations regarding texture.
When you freeze apples, the water inside the cells expands and breaks the cell walls. This means that once thawed, the apple will no longer have that signature “crunch” of a fresh Gala or Honey-crisp. Instead, the texture becomes softer. While they aren’t ideal for eating raw out of hand after thawing, they are absolutely perfect for baking, cooking, and blending. Frozen apples maintain their nutritional value and intense flavour for 8 to 12 months.
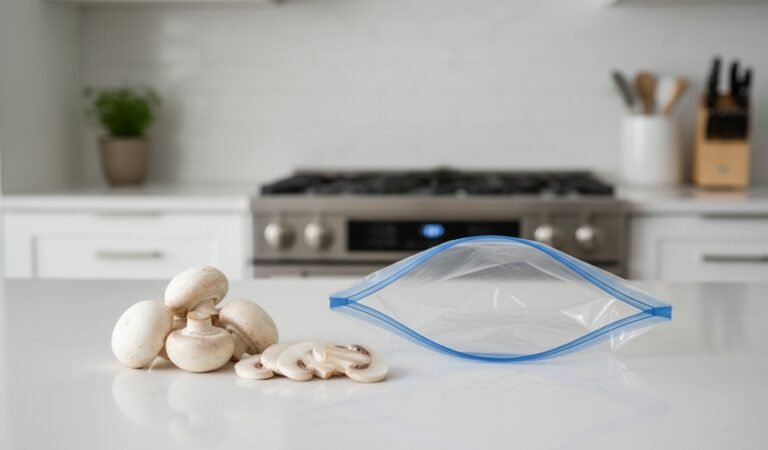
While there are several ways to approach this, the “Flash Freeze” method for frozen apple slices is widely considered the gold standard. This method prevents the slices from clumping together, allowing you to grab exactly what you need for a recipe without defrosting the whole bag.
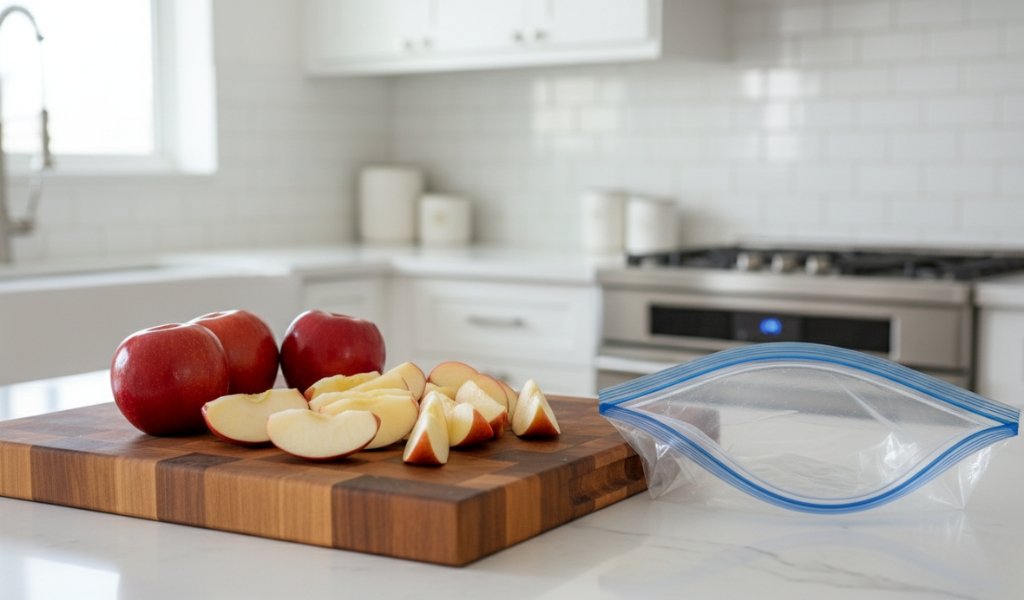
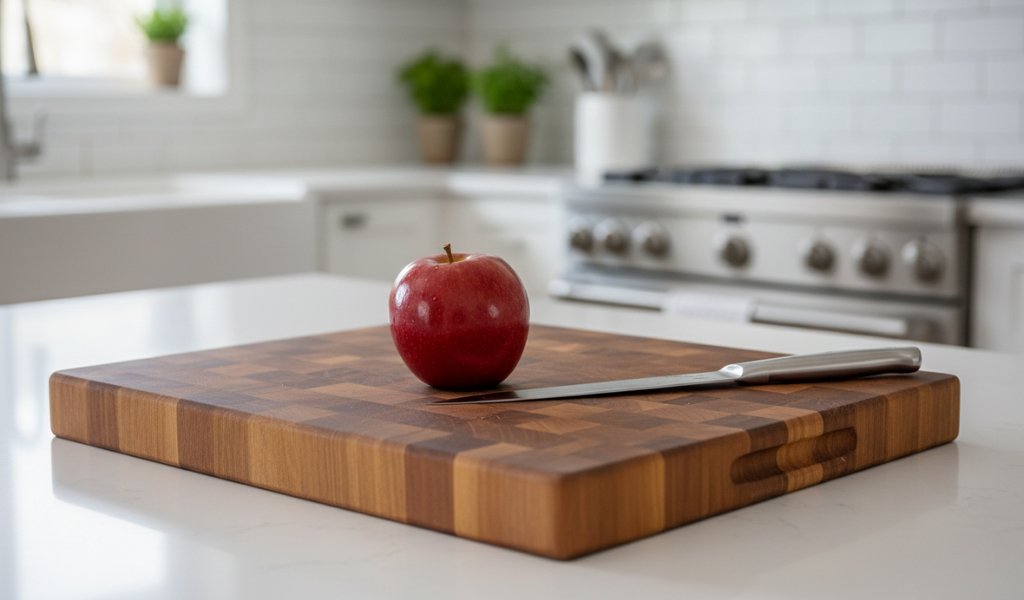
Wash, peel, and core your apples. While you can leave the skins on, peeling them now makes the fruit much more versatile for future recipes. You can slice them into wedges or “thicker chunks” depending on your preference. Using a mechanical apple peeler-corer-slicer can save you hours if you are processing a large harvest.
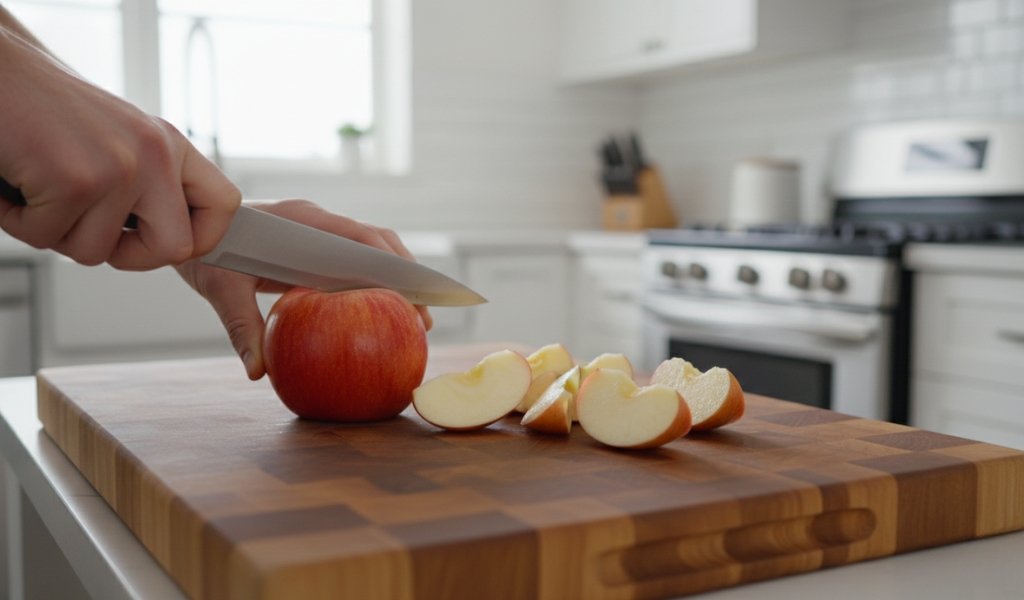
As soon as apple flesh hits the air, it begins to turn brown due to enzymatic oxidation. To keep your frozen apple slices bright and fresh, you must treat them. (See the “Preventing Browning” section below for the best solutions).
Arrange the treated slices in a single layer on a cookie sheet lined with parchment paper.
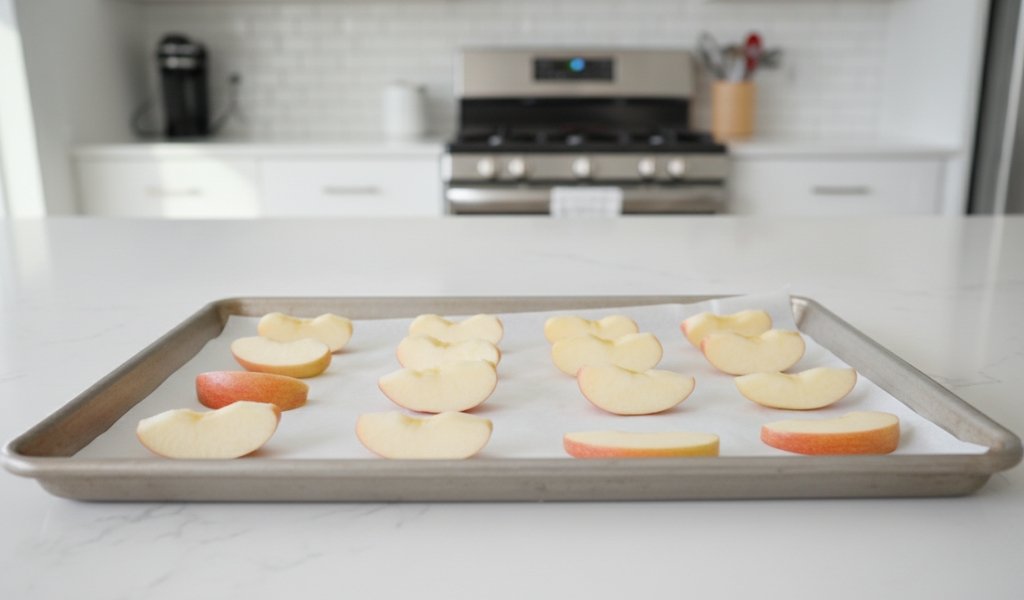
Ensure the pieces aren’t overlapping too much. Place the tray in the freezer for 2–4 hours until the slices are rock hard.
Transfer the frozen slices into a heavy-duty freezer bag.
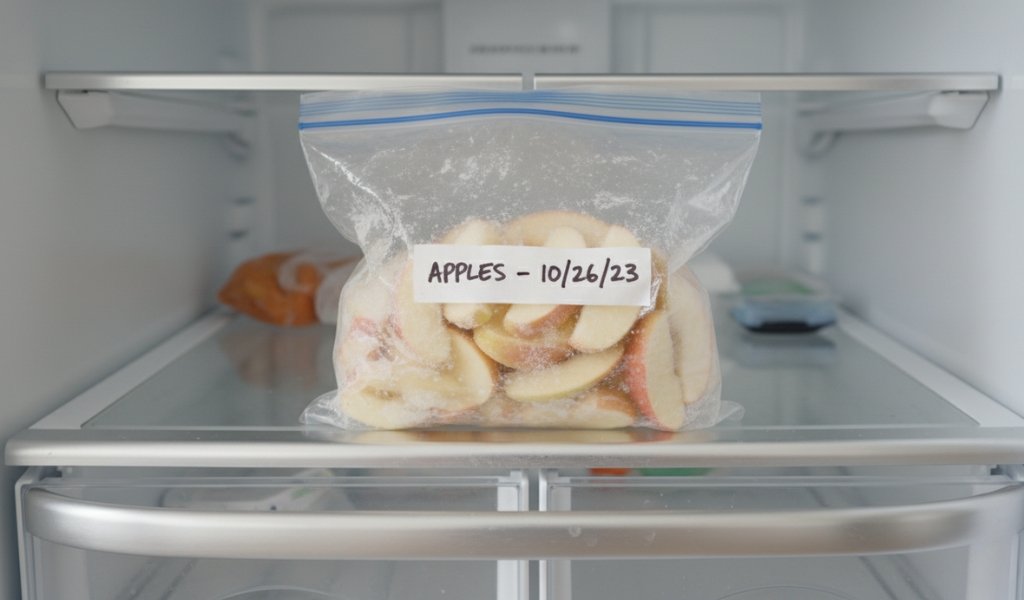
Squeeze out as much air as possible to prevent freezer burn. Label the bag with the date and the variety of apple used.
To keep your apples looking appetizing, you need to dip them in a solution before they hit the freezer. While many people use lemon juice, the most effective method is actually a simple salt water soak.
| Method | Solution Ratio | Effectiveness |
| Salt Water | 2 tsp salt per 1 quart water | Excellent – Keeps fruit brightest. |
| Lemon Water | 2 tbsp lemon juice per 1 quart water | Good – Adds a slight citrus tang. |
| Ascorbic Acid | Follow package (e.g., Fruit Fresh) | Very Good – Commercial standard. |
| Sugar Water | 3-4 tbsp sugar per 1 quart water | Fair – Better for “sweet pack” fruit. |
| Blanching | Boil for 60 seconds | Experimental – Stops enzymes but softens fruit. |
Pro Tip: If you use the salt water soak, soak the slices for 5–10 minutes. If you’re worried about the taste, give them a quick rinse with cold water before freezing. The salt prevents browning better than almost any other home remedy.
Can you freeze apples whole? Yes! If you are in a massive rush, you can wash whole apples, dry them, and toss them into a freezer bag.
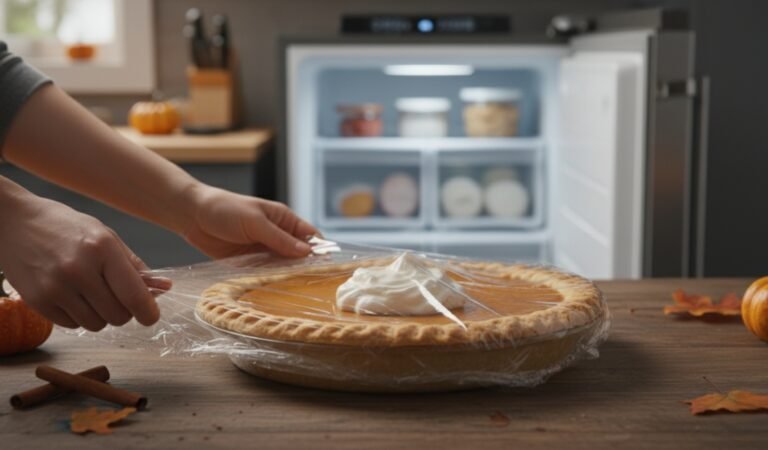
If you love baking, you can prepare a frozen apple pie filling in advance.
Freezing is a fantastic alternative to canning if you don’t have the equipment for water-bath processing. Simply cook your sauce or butter as usual, let it cool completely, and spoon it into freezer-safe containers. Leave about an inch of “head space” at the top, as liquids expand when they freeze.
The enemy of frozen apples is air. When air reaches the fruit, it causes freezer burn, making the apples tough and flavourless.
Many people confuse freeze dried apples with frozen apples, but they are very different products.
If you don’t own a freeze-dryer, standard freezing is the more accessible home preservation method.
Once you have a freezer full of frozen apple slices, the culinary possibilities are endless:
Freezing apples is an easy, budget-friendly way to reduce food waste and enjoy the taste of fall all year long. By using the flash-freeze method and a simple salt-water soak, you can ensure your frozen apples remain vibrant and delicious. Whether you’re tucking away a frozen apple pie for the holidays or keeping frozen apple slices on hand for smoothies, you’ll never regret having this versatile fruit in your “cold pantry.”
Yes, you can. The skin is perfectly edible after freezing, though it may become slightly tougher. If you plan on making applesauce or smoothies, keeping the skin on adds extra fiber.
The key is “Flash Freezing.” Freeze the slices individually on a cookie sheet for a few hours before putting them into a freezer bag. This ensures the slices remain separate.
Only if they aren’t treated before freezing. Use a salt water or lemon juice soak to deactivate the enzymes that cause browning.
For peak quality, use them within 8 to 12 months. They remain safe to eat after that, but the risk of freezer burn increases.
Not really. Once thawed, they will be soft and somewhat mushy. They are best used in recipes where they are cooked or blended.
Tart, firm apples hold up best. Varieties like Granny Smith, Jonagold, Braeburn, and Honey-crisp are excellent choices for freezing.